Everything you need to know about how to perfect water gilding
Restoration and decoration with the water gilding technique

What is water gilding?

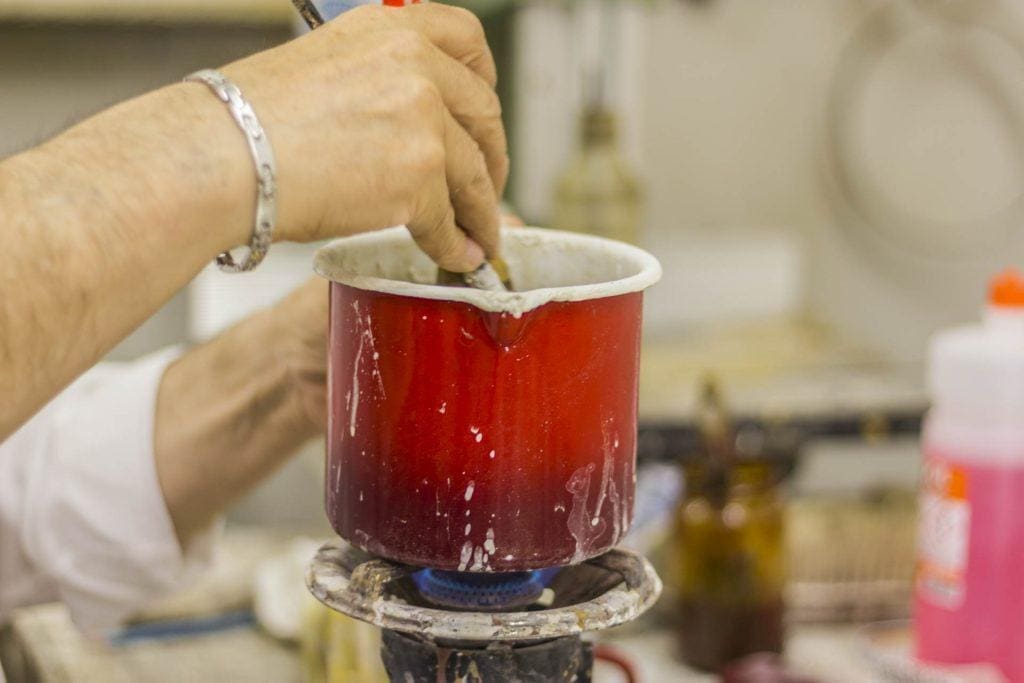
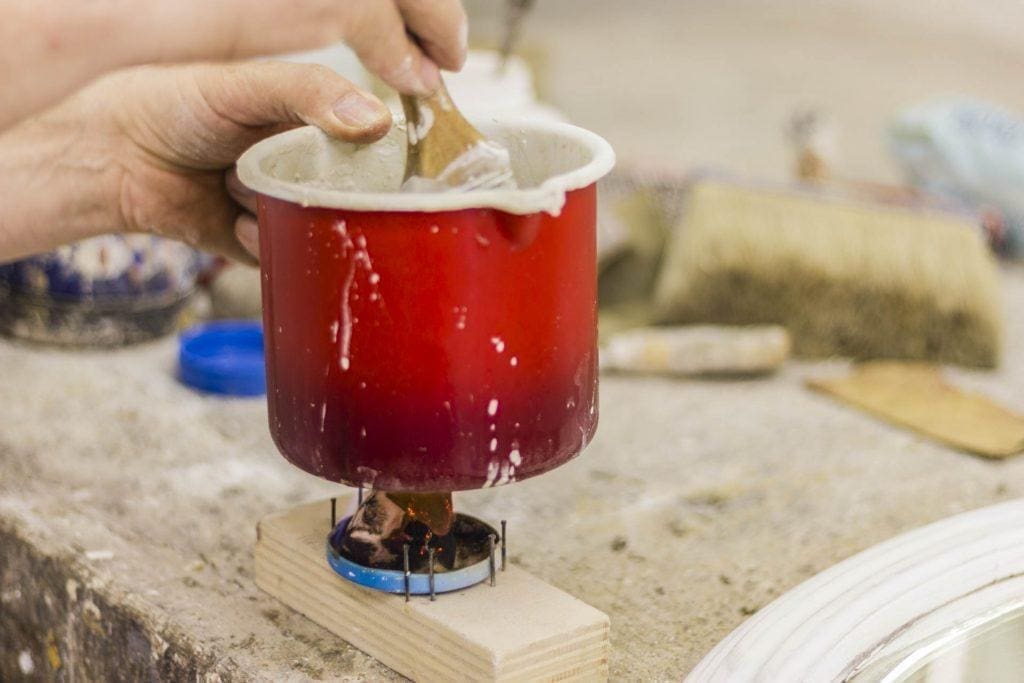
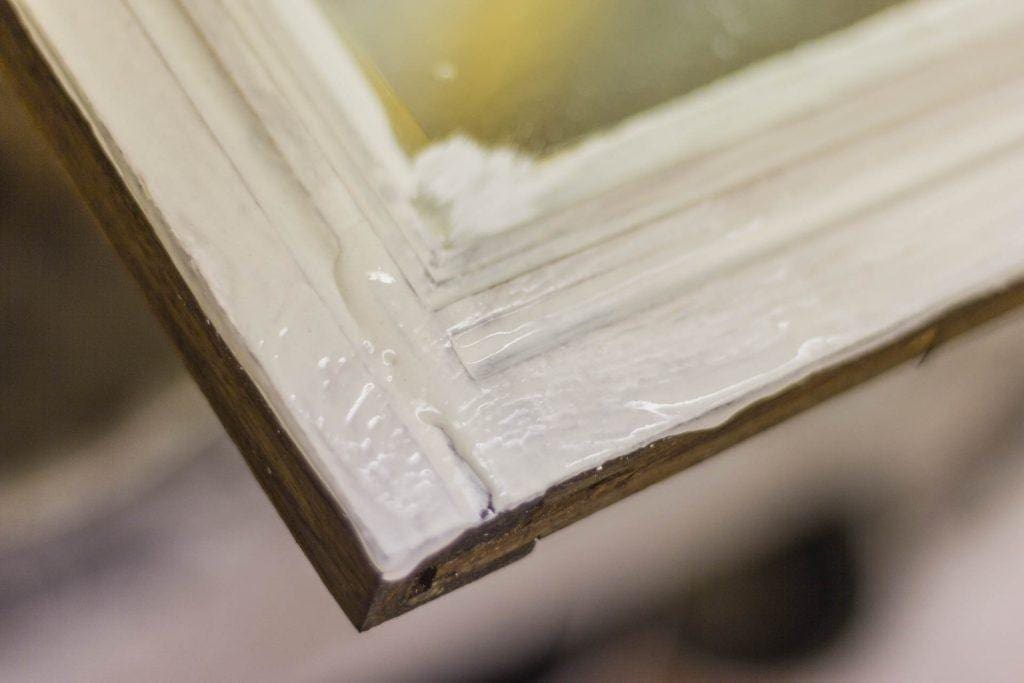
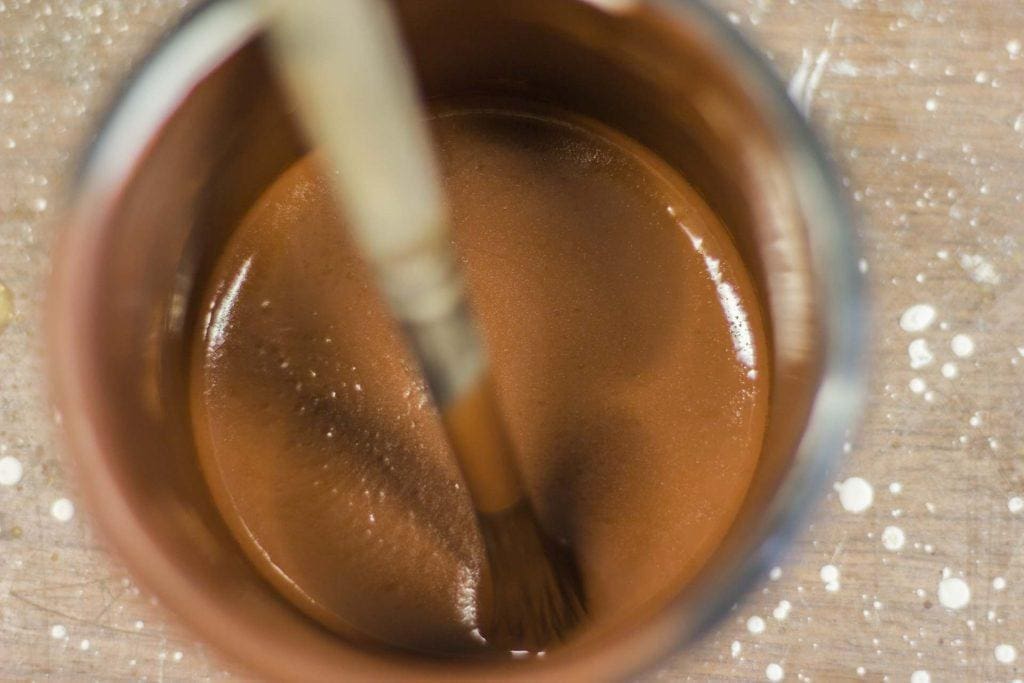
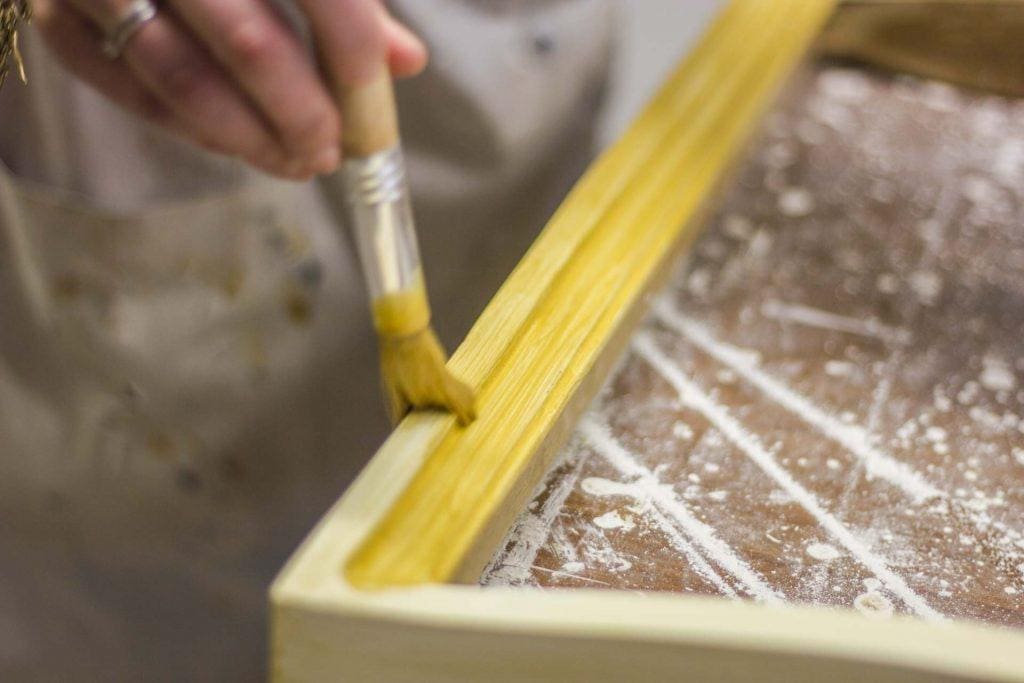
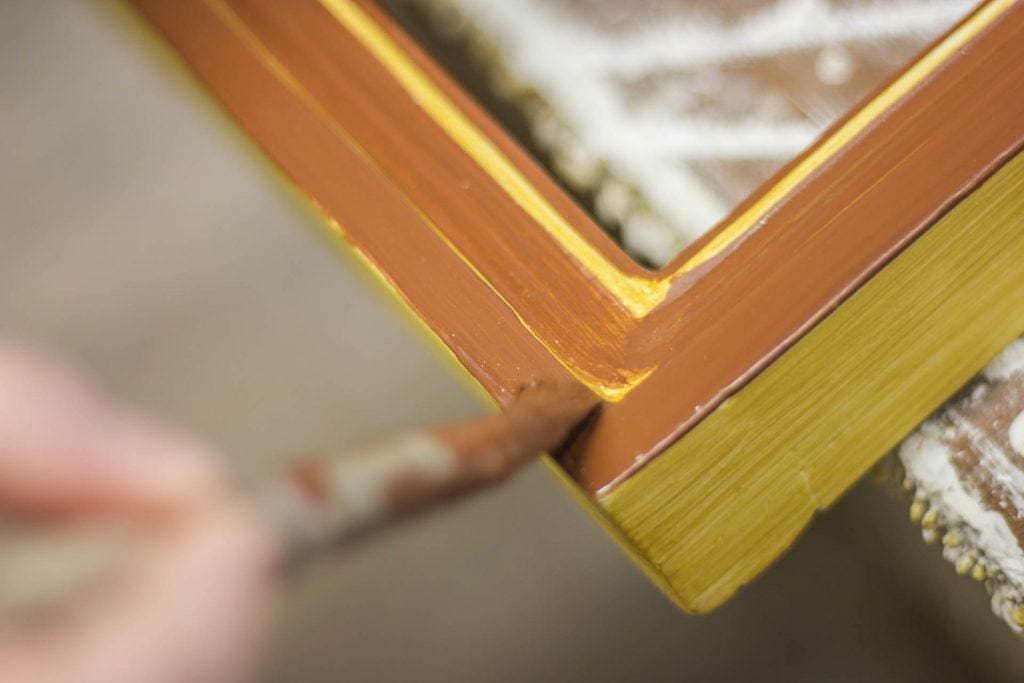
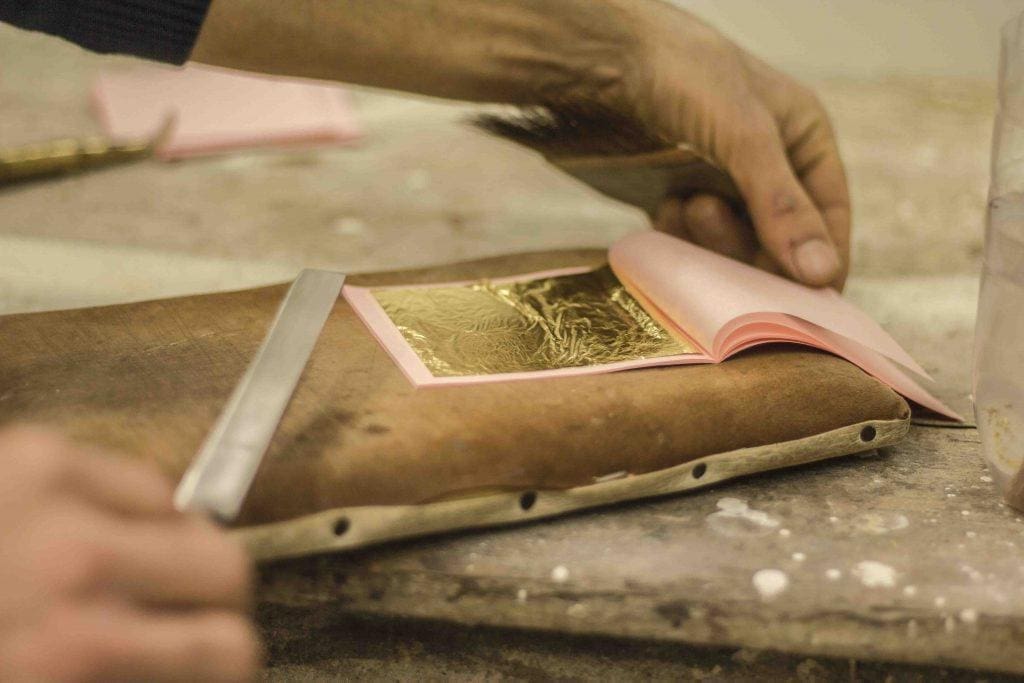
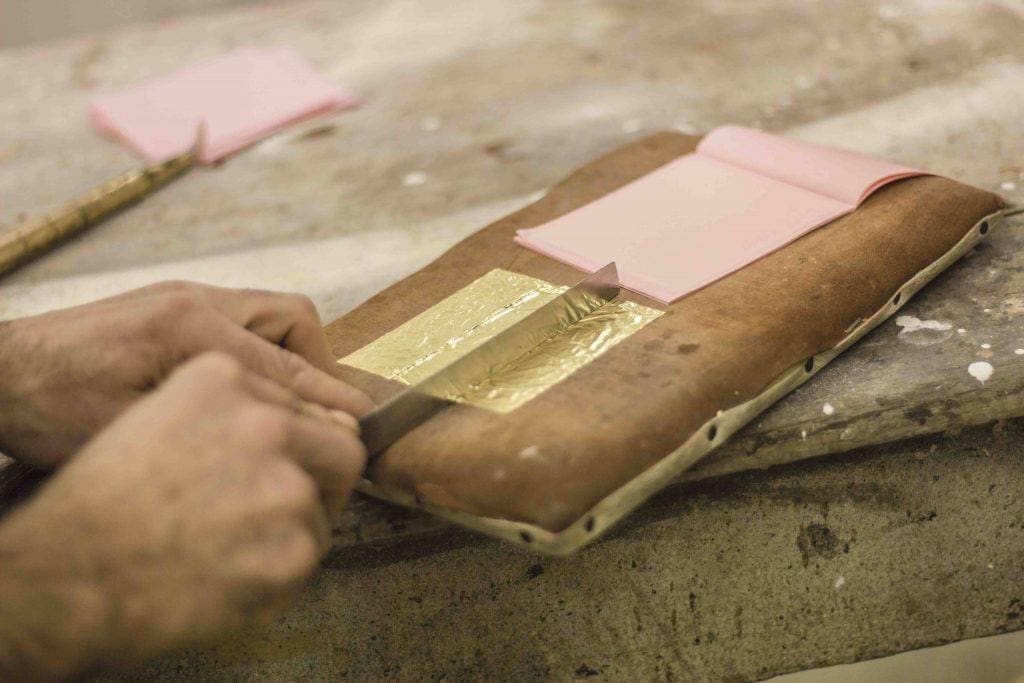
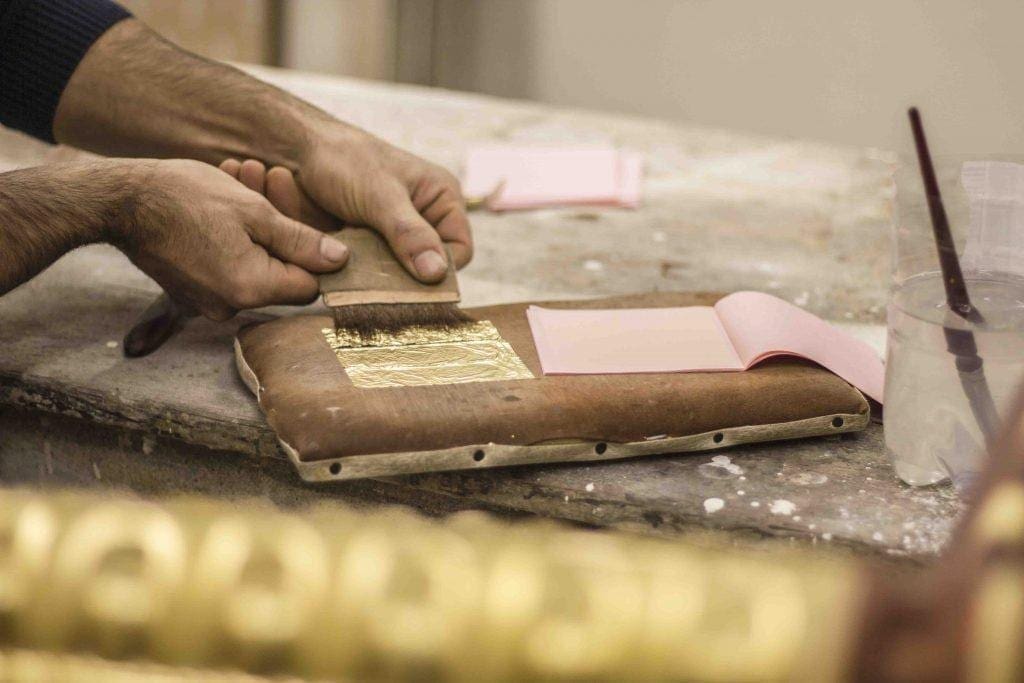
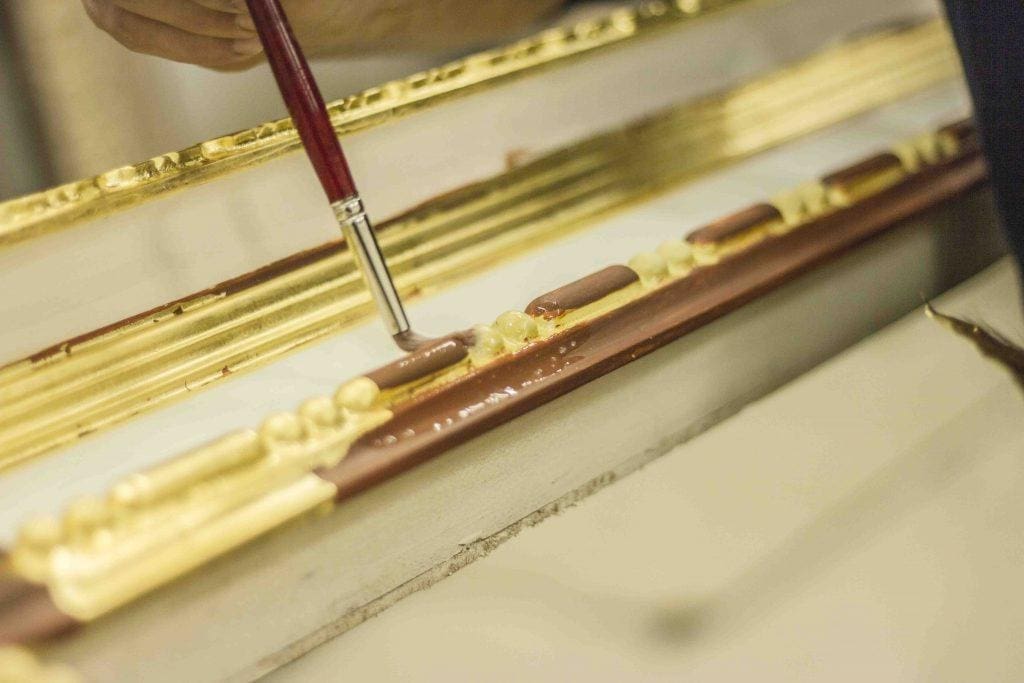
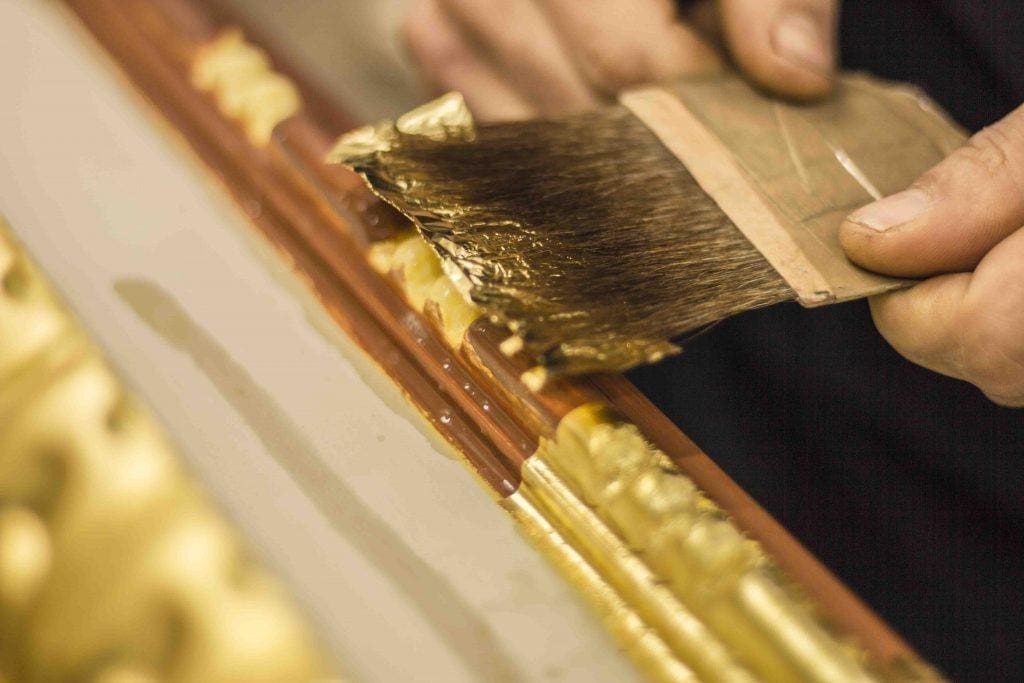
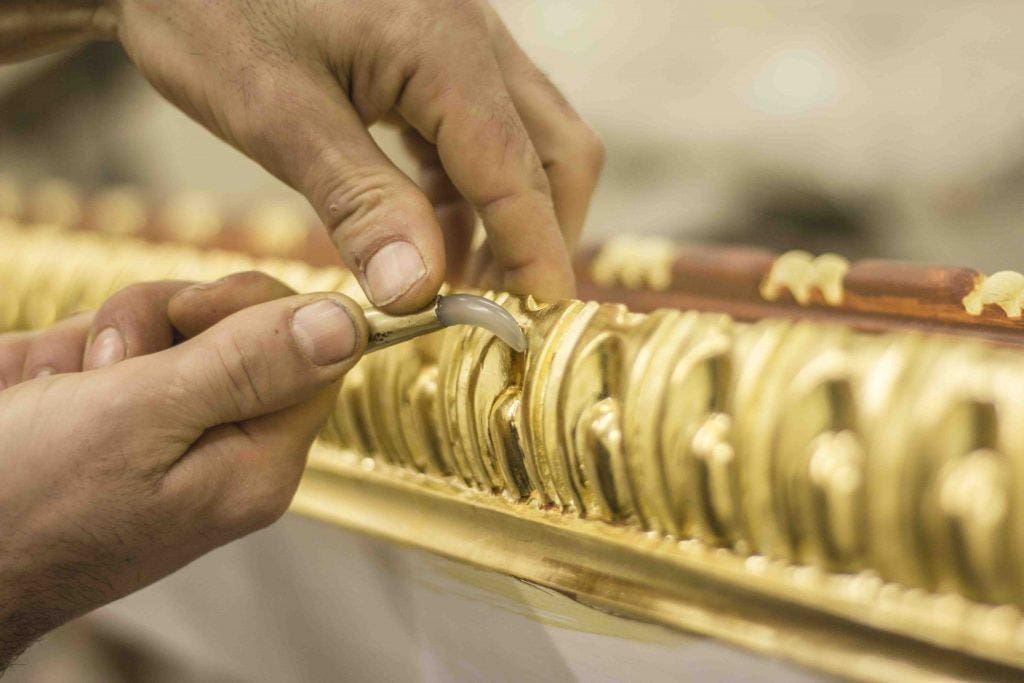
Water gilding is one of the oldest ways to apply pure gold leaf, silver leaf and – less frequently – imitation leaf. A centuries-old tradition handed down from artisan to artisan has brought this art into modern times. Today the art of water gilding is substantially identical to how it was done in the old days. Its name comes from the use of water and its compounds both in the preparation of the base and in the application of the leaf.

This technique (also called gouache gilding) is used especially in gilding restoration, when repairing missing or damaged parts of furniture, frames and period artefacts. It is also particularly suitable when creating faithful replicas of antiques and for pieces that have very shiny surfaces or which alternate between shiny and opaque sections.

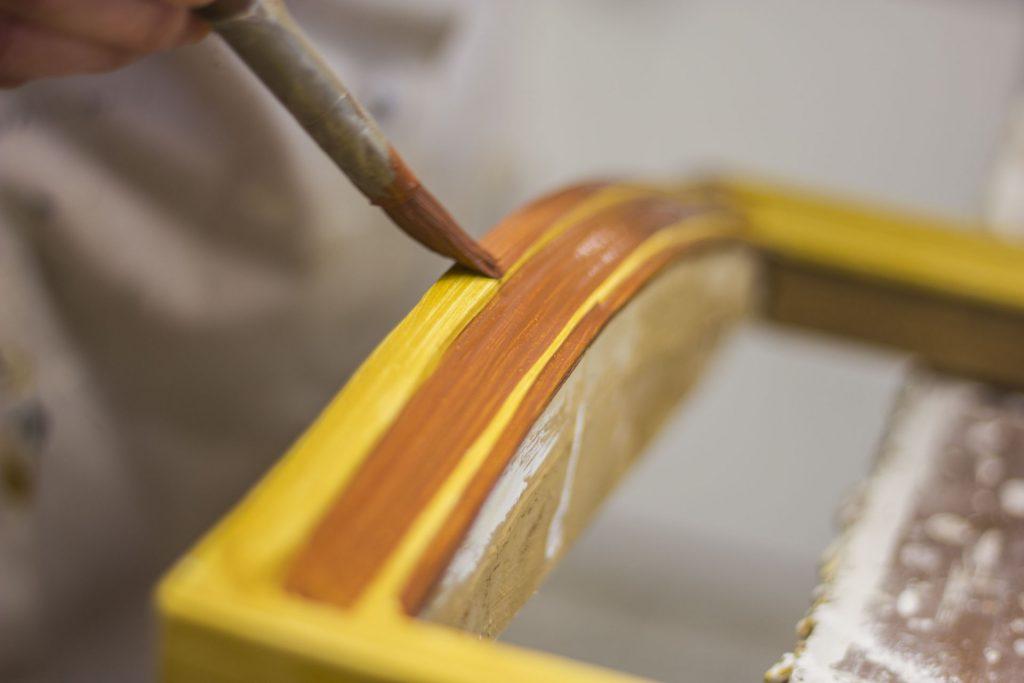
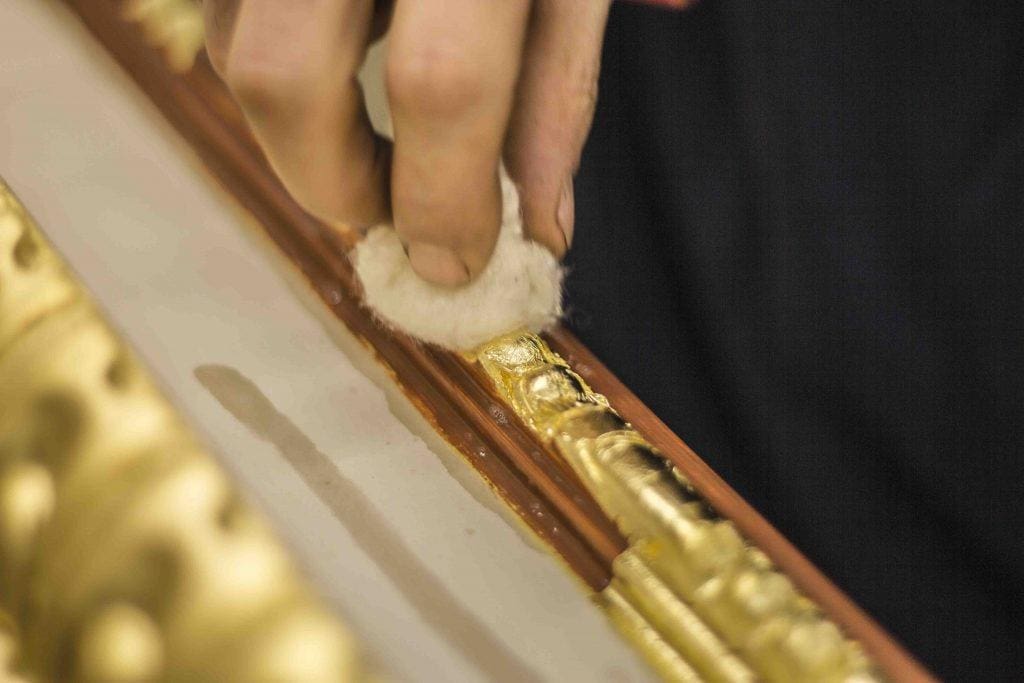
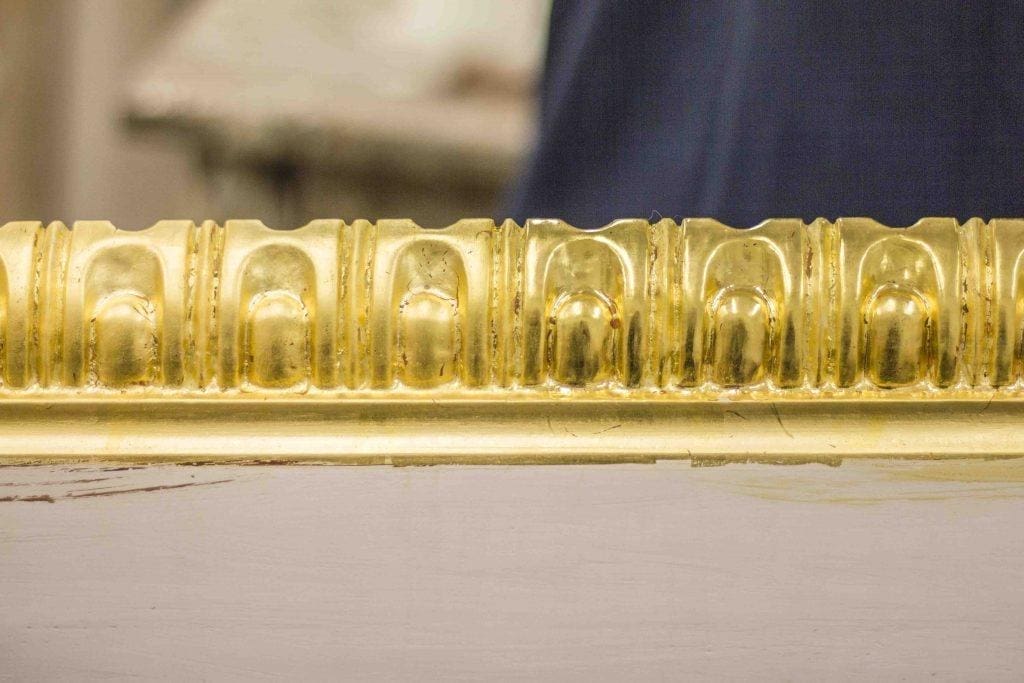
Unlike the various gilding techniques that use size, water gilding can be finished with burnishing, which is a special finishing process that completely or partially polishes the gilded surface.

More difficult and labour-intensive than size gilding, it is the best solution to show the three-dimensionality of surfaces or to work on extremely fine gilded details.

It is mainly used for:
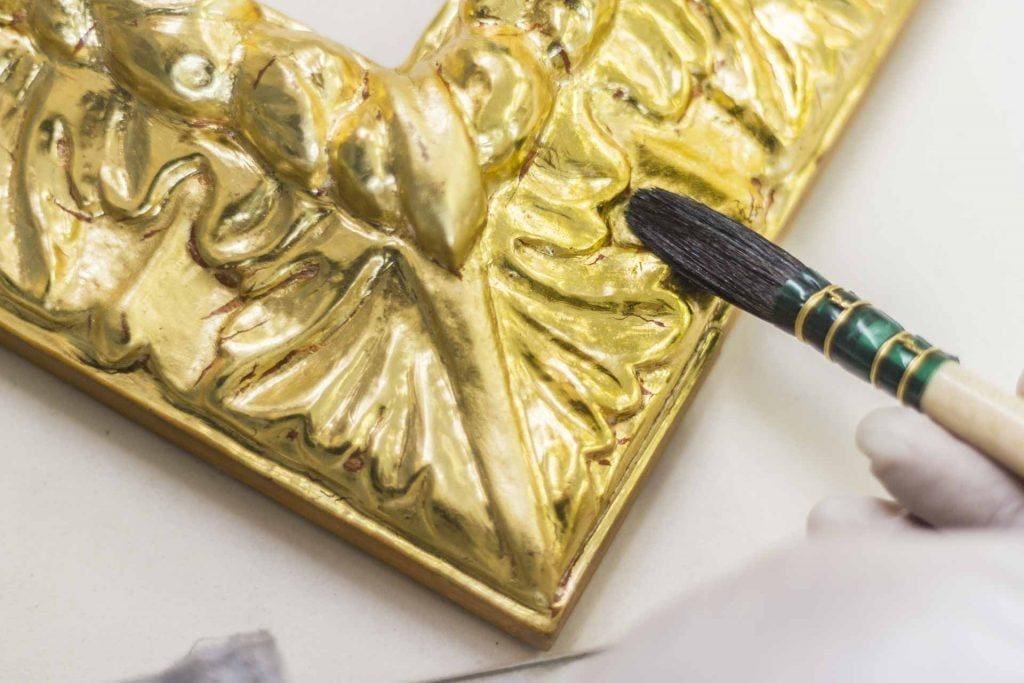
• Wood frames
• Statues
• Restoration of gilded furniture, frames and artefacts

Preparation of the base material: chalking or gessoing

Tools:

• Rabbit-skin glue, to be diluted in water
• Soft brush
• Bologna Gesso

The first stage of water gilding consists in preparing the base, which should be as smooth and homogeneous as possible. We begin by creating the so-called “colletta”, a mixture of rabbit-skin glue and water, which will then be used for the actual gesso stage.
To prepare the colletta, mix the rabbit-skin glue with water (1 part glue and 8 parts water), and let the mixture rest for about 12 hours so that the glue softens. Then place it in a bain-marie (hot water bath) for about 8 hours until it is blended well. It is important to make sure that the mixture does not come to a boil.

After letting everything rest for another 2 or 3 hours, add part of the colletta to the Bologna gesso, which you have previously sifted, with an approximate proportion of 1 part of gesso and 3 parts colletta. The gesso should be added gradually and without stirring to prevent bubbles from forming once it has been spread and dried. The result is a dense, but semi-liquid compound that must be applied while still hot on the surface you are gilding. This procedure is also known as gessoing.

Gesso application and finishing

Tools:

• Soft brush for the application of the gesso
• Coarse-grained sandpaper (120 – 180)
• Gilding scraper for roughing of the gesso
• Fine-grained sandpapers (280, 320, 400) for final sanding

The gesso and colletta mixture must be spread by using a brush, with several coats on a surface that is clean, smooth and free of dust or particles. To lower the grain of wood, we recommend applying a first coat of colletta that you’ve prepared separately. It should be very liquid and with a small amount of gesso.

After applying each coat, let the gesso dry and sand the surface with coarse-grained sandpaper in order to sand down any imperfections. Proceed until the surface is homogeneous and well polished.

Once the last coat has been applied and it has dried, it is important to finish the surface with a scraper to recreate the sharp edges that need to be gilded, but be careful not to remove the gessoing. For the final sanding, we suggest using progressively finer and finer sandpapers in order to obtain a perfectly smooth surface.

Before proceeding to the next step, known as the “bole application”, it may be necessary for you to apply a coat of a compound (obtained by mixing and heating fish glue or rabbit-skin glue with water) on the polished gesso surface. A bit of yellow bole paste should be added to the hot mixture.

After allowing it to dry for about 10/15 minutes, we will have a sealed plaster surface ready for the application of the bole.

Applying Bole

Tools:

• Rabbit-skin glue for the preparation of the colletta
• Bole in a paste

The bole is a clay paste that is of fundamental importance for the water gilding technique. It has the function of glue for pure gold or silver leaf and, since it is available in various colours, it also adds different tones to the gilding. The gold leaf will be warmer if you use a red bole, while it will have a paler tone with yellow bole. For silver leaf, black bole or white bole are mainly used, which are perfect for a more brilliant effect. By mixing and applying different coloured boles on the different areas of the gilding, you will also be able to add different effects and shades to different parts of the same work. Finally, the use of the bole allows you to carry out final polishing, called burnishing, which is typical only of water gilding.

The bole paste must be mixed with an adhesive before being applied. First prepare a mixture of rabbit-skin glue and water, approximately 1 part glue for 10 parts of water. Let it rest for about 2 hours and then place it in a bain-marie (hot water bath), making sure that it does not boil. Then mix the resulting colletta with the bole paste in the proportion of 3 parts colletta and 1 part bole, in order to attain a semi-liquid, but not too watery, compound.

Application of the bole

Tools:

• Soft brush or flat gilding tip

If necessary, filter with a very fine weave stocking or gauze to remove any lumps, the presence of which would damage the leaf and cause scratches during burnishing. Then proceed with the application of the mixture, nice and hot, on the gesso surface.

Using a soft brush or a flat gilding tip, apply a first coat prepared with yellow bole and then two coats of red bole.

Between coats, wait as long as it takes for the bole to dry completely. Generally it takes less than an hour, but the humidity level and the temperature of the surrounding environment can affect the drying time of the bole.

We recommend applying a layer of bole that is not too thick in order to prevent the leaf from peeling off during the application phase coming up.

Gilding

Tools:

• Loose gold or silver leaf
• Gilding cushion
• Gilding knife

In water gilding, only loose gold or silver leaf is used. To apply the loose leaf, gently open the booklet and place onto the gilding cushion. With the help of a gilding knife, slide the leaf onto the cushion and apply it by lightly blowing on it.

It is essential that the leaf never comes into contact with your fingers to avoid damaging it and making it unusable. With the gilding knife you may also cut the leaf into smaller parts; to do so, simply place the blade on the leaf surface and move the knife “forward&back”, exerting enough pressure to cut the leaf without damaging the gilding cushion.

Leaf application

Tools:

• Fish glue
• Brush with soft hair
• Squirrel hair gilder’s tip
• Squirrel hair bombasino (mop round brush) or cotton ball

Then place a mixture of fish glue and water, in the approximate proportion of 1 part glue and 10 parts water, in a bain-marie (hot water bath), without reaching a boil. With the help of a soft brush, wet the bole so that it is ready to attach the leaf. We recommend gently applying only one coat of compound to prevent the bole from softening too much and melting or creating stagnation areas. It is also advisable to wet only part of the bole surface and apply the leaf immediately afterwards. Proceed in sections.

Using a squirrel hair flat brush of the appropriate size according to the size of the leaf, transfer the leaf from the cushion to the surface you are gilding. If the leaf does not stick to the brush bristles, we recommend brushing it onto your skin or your hair in order to give it an electrostatic charge.

Usually we proceed with gilding by starting with the sections that are more uniform and wide open. We start with flat sections and then move on to the curved ones. In addition, we usually gild the sections that need to be rendered opaque first and then we do the sections that will be burnished.

To make the leaf adhere as much as possible to the bole underneath, it should be dabbed with a squirrel hair bombasino or a cotton ball. Always avoid touching the gilded surface with your hands until it is completely dry.

If you need to retouch or add to missing parts, we suggest wetting the base, taking care not to touch the already gilded surface, in order to avoid the formation of halos after everything is completely dry.

Burnishing (polishing the water gilding)

Tools:

• Agate burnisher of suitable shape and size for the surface
• Wool cloth to warm the stone

You can proceed with the burnishing phase only after the gilding has completely dried. As a guide, it is necessary to wait from 5 to 8 hours in the summer, and from 20 to 24 hours in the winter. A useful method to verify if the drying stage is proceeding well consists in exhaling gently on the leaf. If the fog produced by the hot air of your breath vanishes immediately, drying is too advanced; if it does not disappear, it is still insufficient; if it remains for a few moments and then disappears, the drying is perfect.

Use an agate burnisher on the gilded surface several times to give it an extraordinary shine, brilliance and smoothness. Agate burnishers are available in different sizes and shapes, and adapt perfectly to a variety of surfaces that need to be burnished.
It is advisable to heat the stone slightly before using it by rubbing it quickly on a wool cloth.
During burnishing, move the agate burnisher over the gilding in various directions (so as to minimize the marks of the movements that are made) and exert constant pressure. Make certain you are not exerting too much force onto the base so that it does not yield.

Protective coat

Tools:

• De-waxed shellac
• Soft brush or bristles or squirrel bombasino

Once the burnishing phase is complete, a protective varnish can be applied to the gilded, polished surface. So as not to alter the brilliance of the gold, we recommend using a natural varnish. Spread one or two thin coats of de-waxed shellac using a soft bristle brush or a bombasino brush, particularly suitable if the gilded piece has deep inlays or a carved surface.