
Imitation gold leaf, aluminium leaf and copper leaf are mainly applied using the size gilding technique. The water gilding technique can only be used for gilding wooden surfaces.
Imitation leaf gilding techniques
Imitation gold, aluminium and copper leaf application guide Gilding with non-precious metals
SIZE GILDING WITH IMITATION GOLD LEAF
Base material preparation
Tools:
• Varnish to reduce absorption of the size
• Paintbrush or paint spray gun
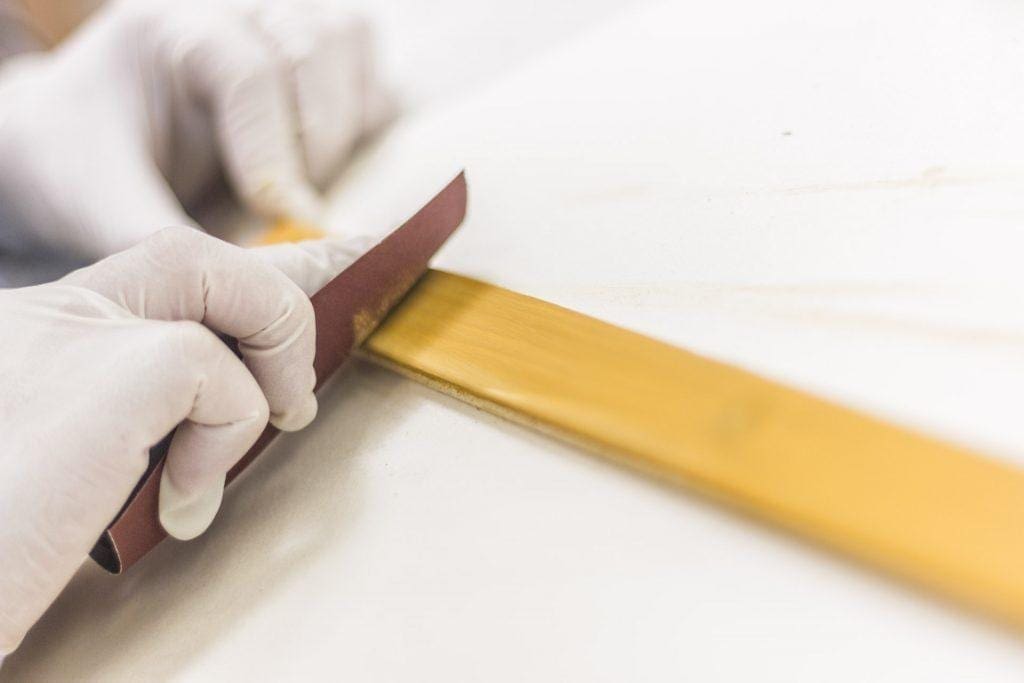
• Sandpaper for smoothing
• Acrylic colour (optional) to add colour to the background
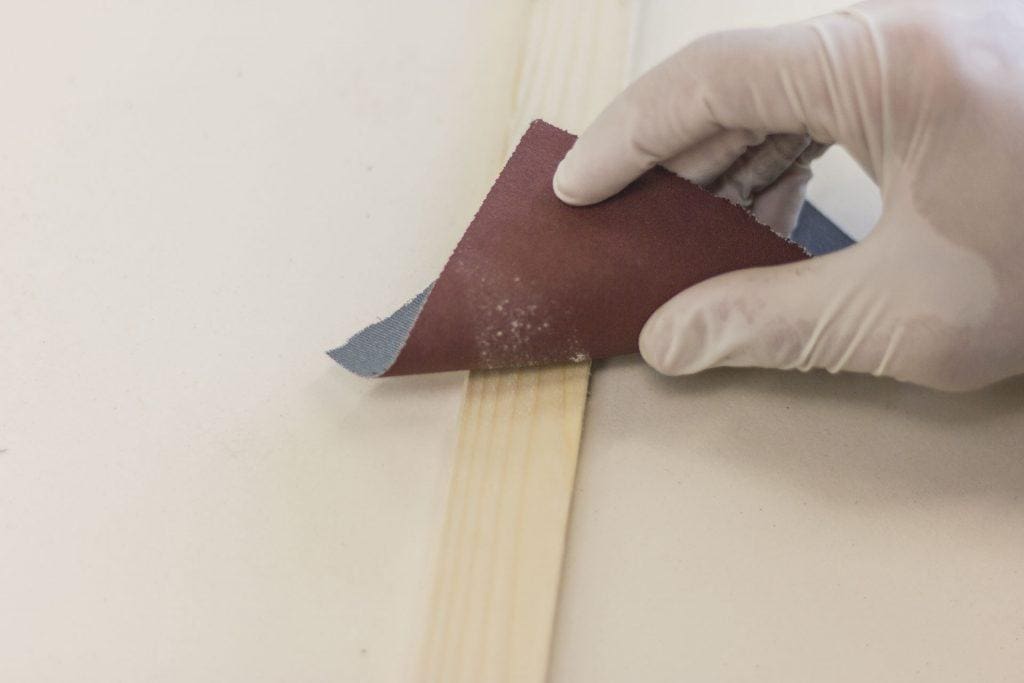
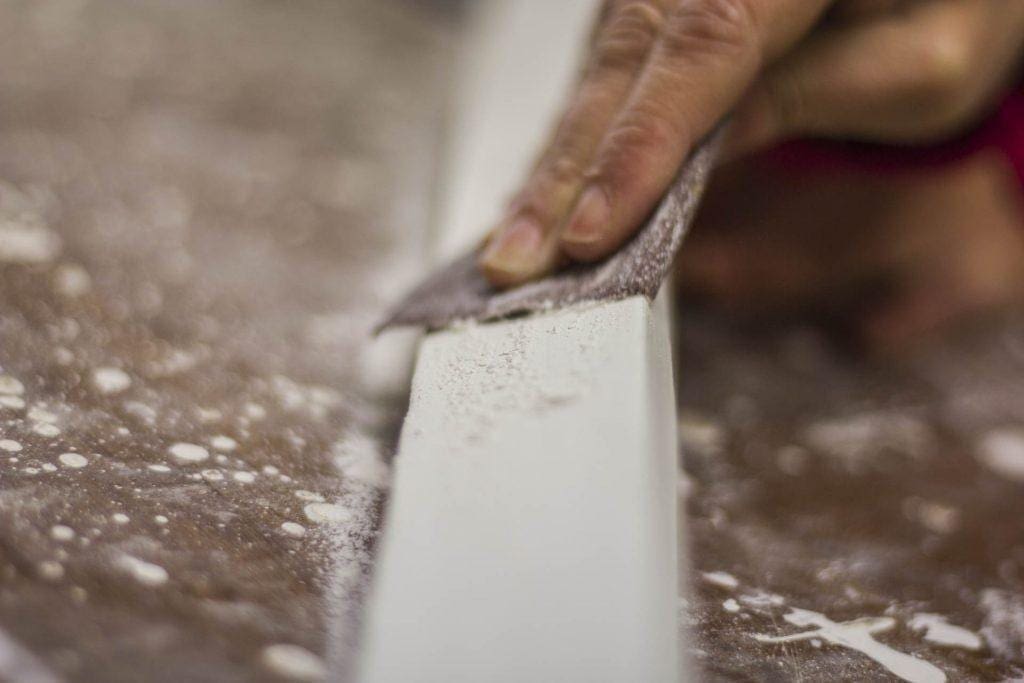
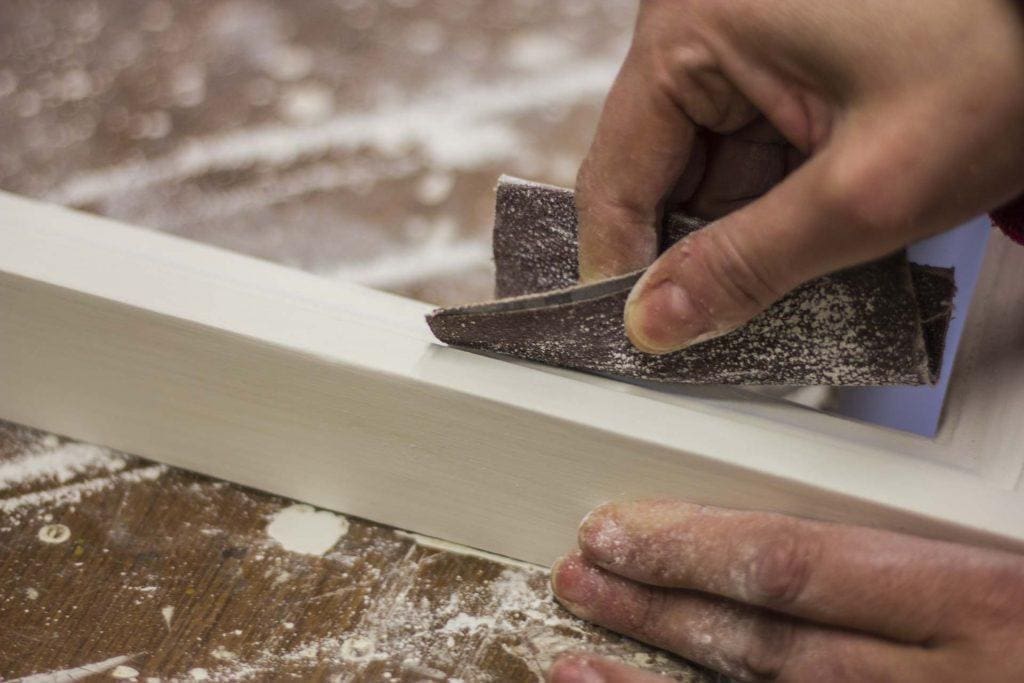
If the base is very porous, you should apply – with a brush or spray – a layer of varnish before applying the size, which will prevent the size from being absorbed too quickly. To make the surface as smooth as possible, first sand it with fine-grained sandpaper.
These preliminary steps are not necessary for smooth, compact surfaces.
To make the final result of the gilding look warmer and more homogeneous, before applying the size, a coat of acrylic colour can be applied to the primer and sanded with fine-grained sandpaper.
Applying the size
Tools:
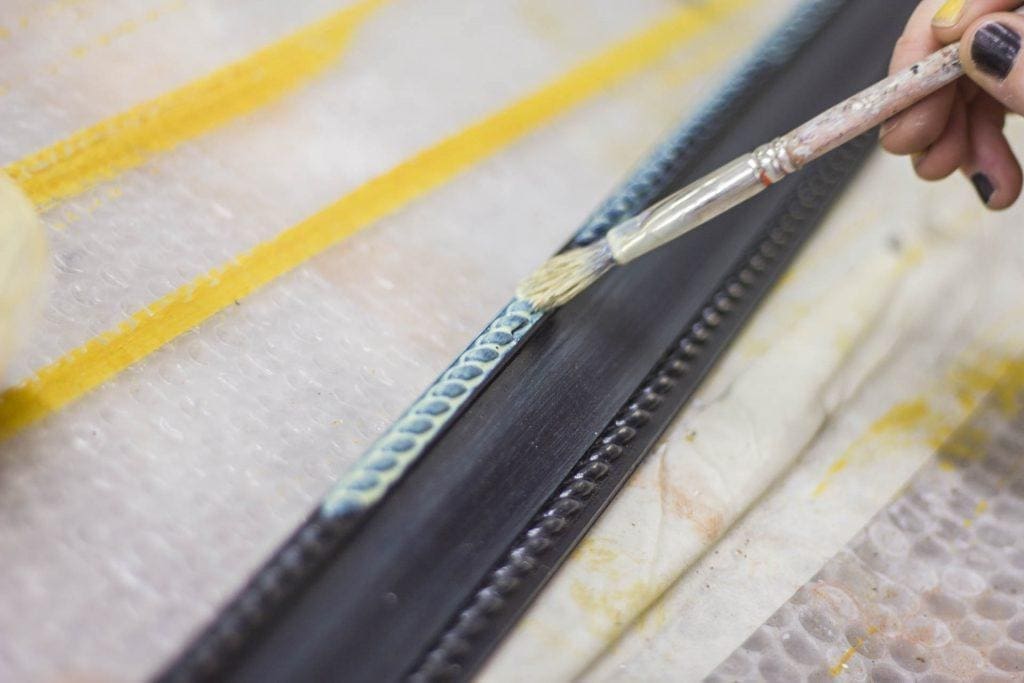
• Soft bristle brush to apply the size paint spray gun
• Water-based size or alcohol-based size
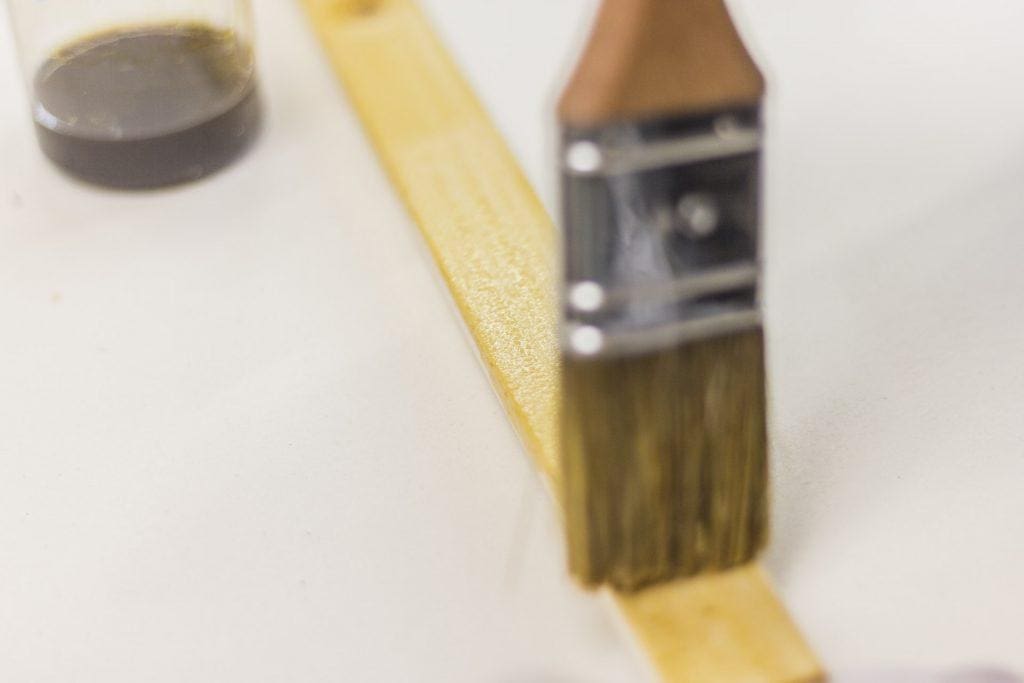
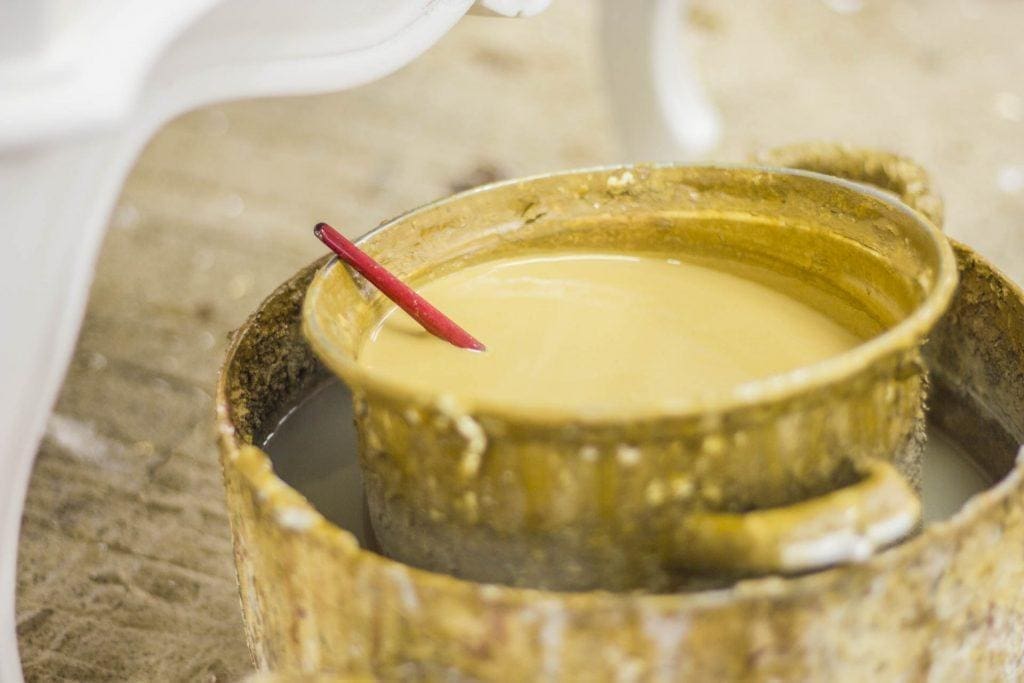
Using a soft bristle brush or a pad, apply a very thin layer of size. The smoother and more compact the surface, the smaller the amount of size required to make the leaf stick. It is a good idea not to use too much so as to avoid imperfect drying that would make the base on which you are applying the leaf unstable.
On large surfaces, and if you have the appropriate equipment, it is also possible to use a spray gun.
Drying the size
Before proceeding with the application of the imitation leaf, we need to let the size dry properly. The treated surface is ready when you touch it with the back of your hand and it is slightly sticky, but does not leave damp residues on the skin and does not detach from the support. We do not recommend touching the surface with your fingers, in order to avoid leaving prints on the size, which would remain visible even after you’ve gilded the surface.
The temperature and degree of humidity significantly affect the drying time, which will be longer in a humid environment or one that is too cold, even if it is sufficiently dry.
If you wait too long there is a risk of it drying completely, which would not allow the imitation leaf to adhere. Then again if you do not wait long enough, applying the leaf will stop the drying process of the size, resulting in unstable gilding.
Applying imitation gold, aluminium and copper leaf
Tools:
• Imitation gold, aluminium or copper leaf
• Flat brush
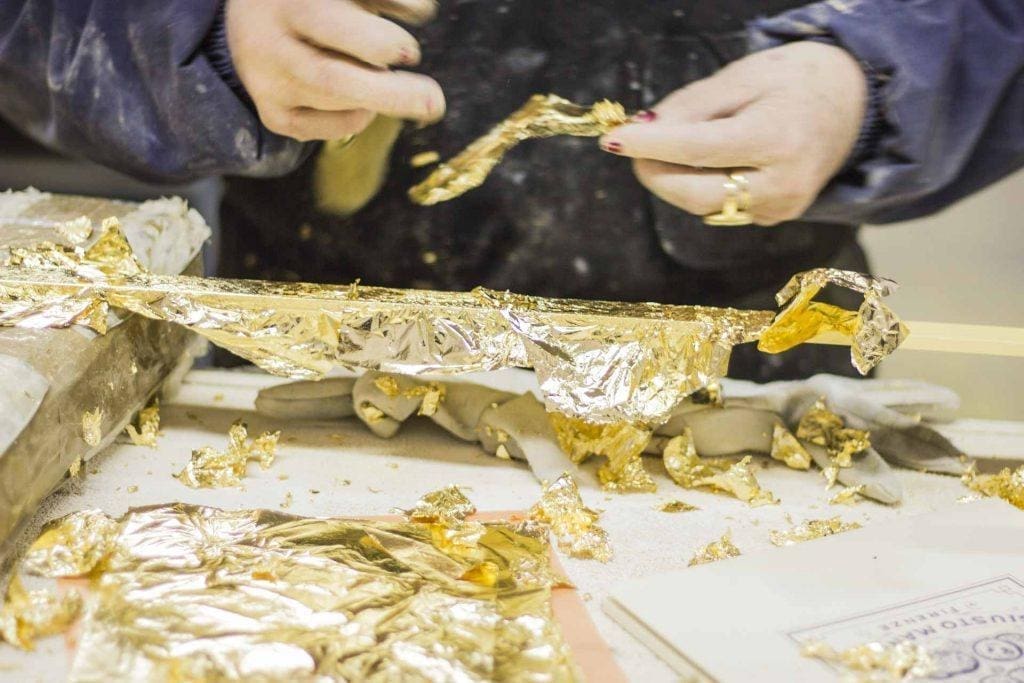
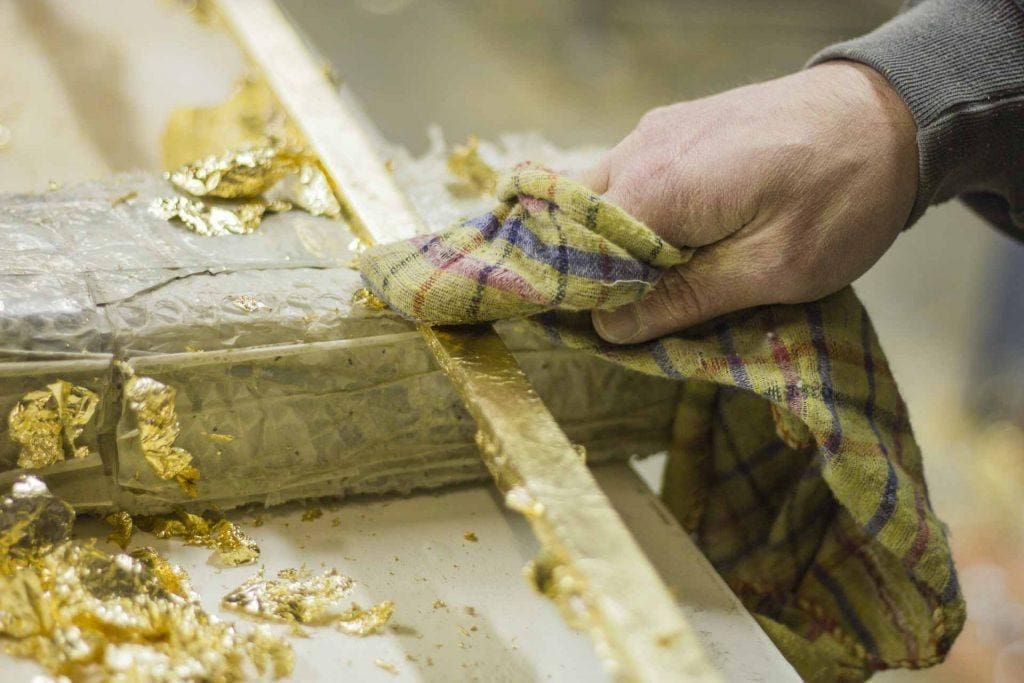
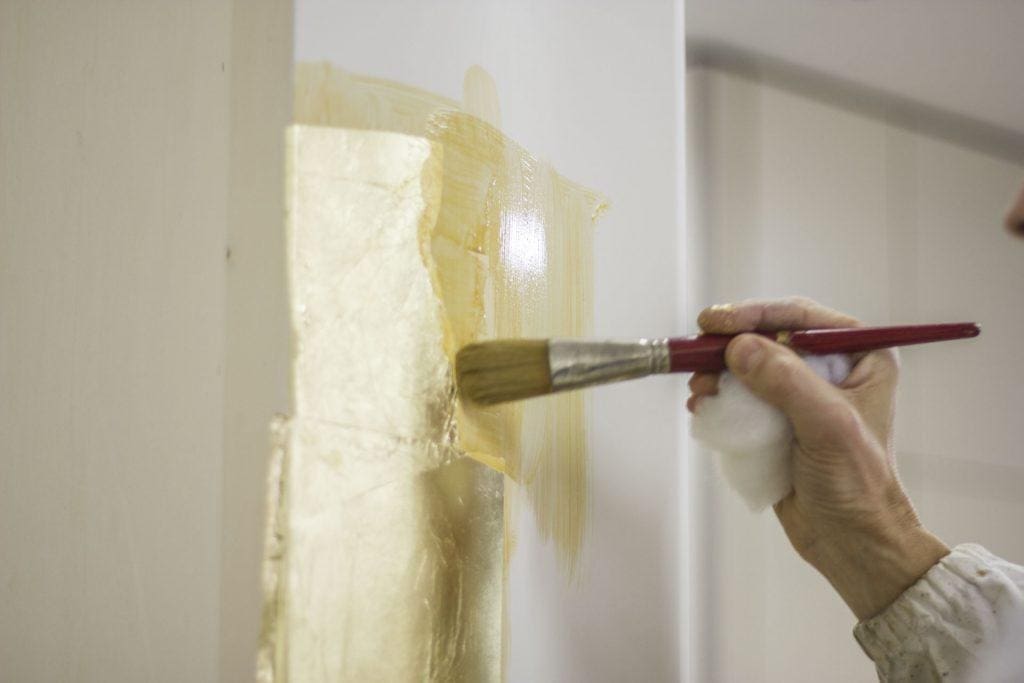
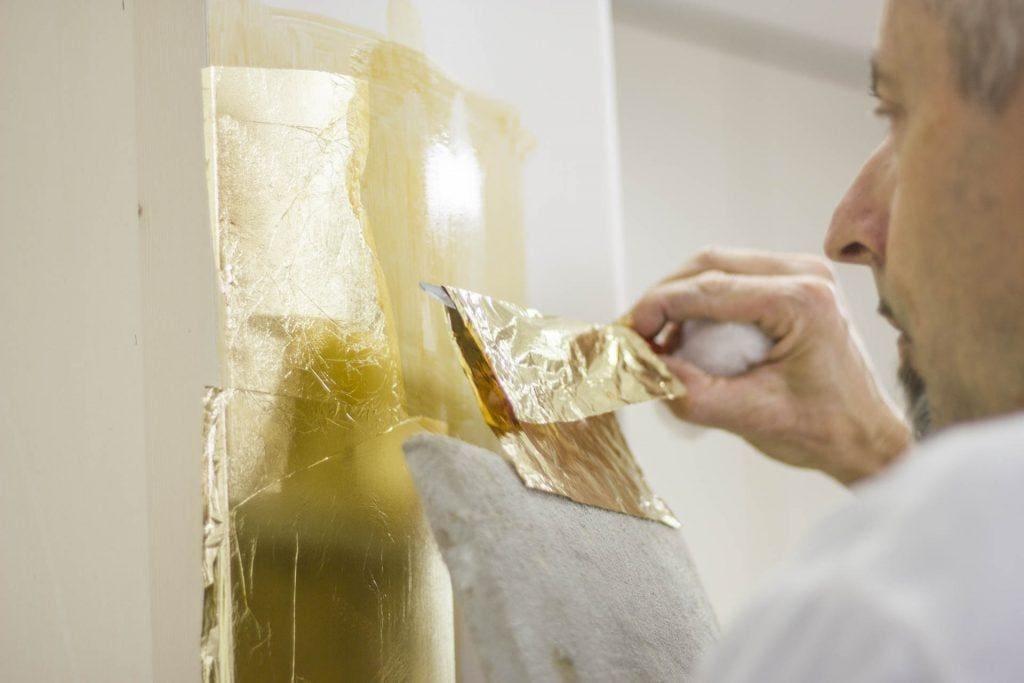
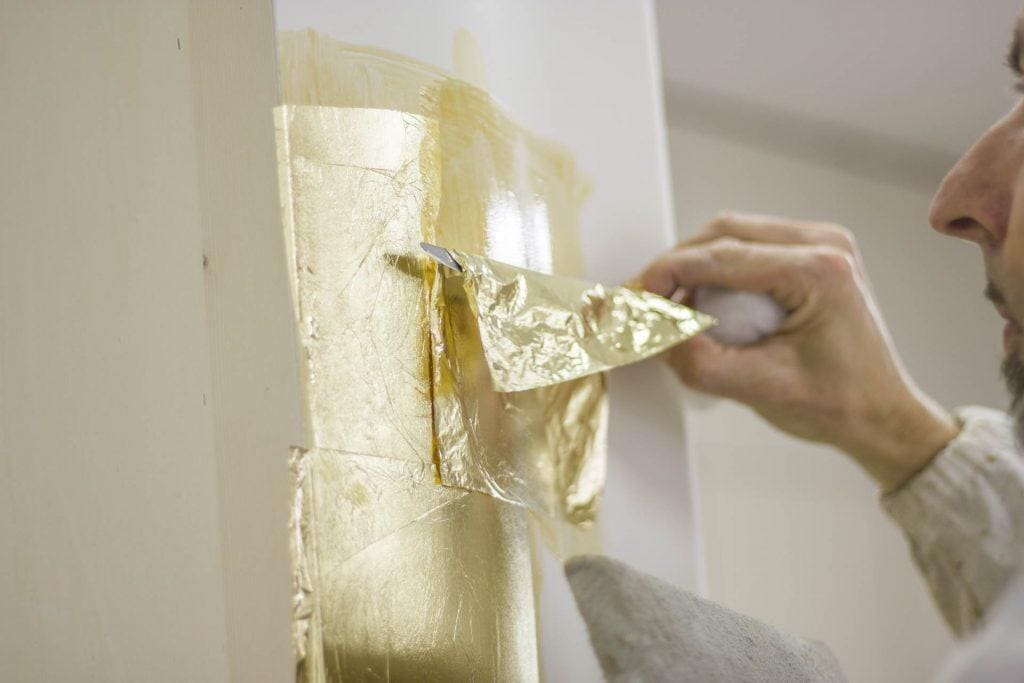
After the size has dried correctly, proceed with the application of the leaf by taking it with your hands and applying it to the base you are decorating, making sure you do not damage it.
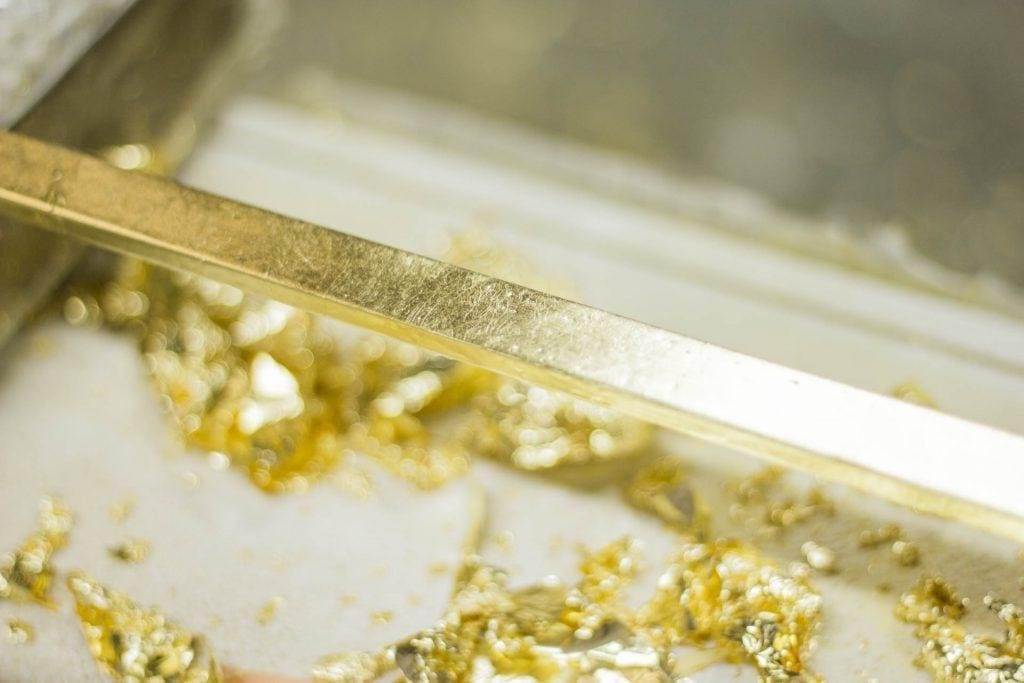
To spread it evenly you can use a cotton ball for better grip and a gilder’s knife to spread it out evenly.
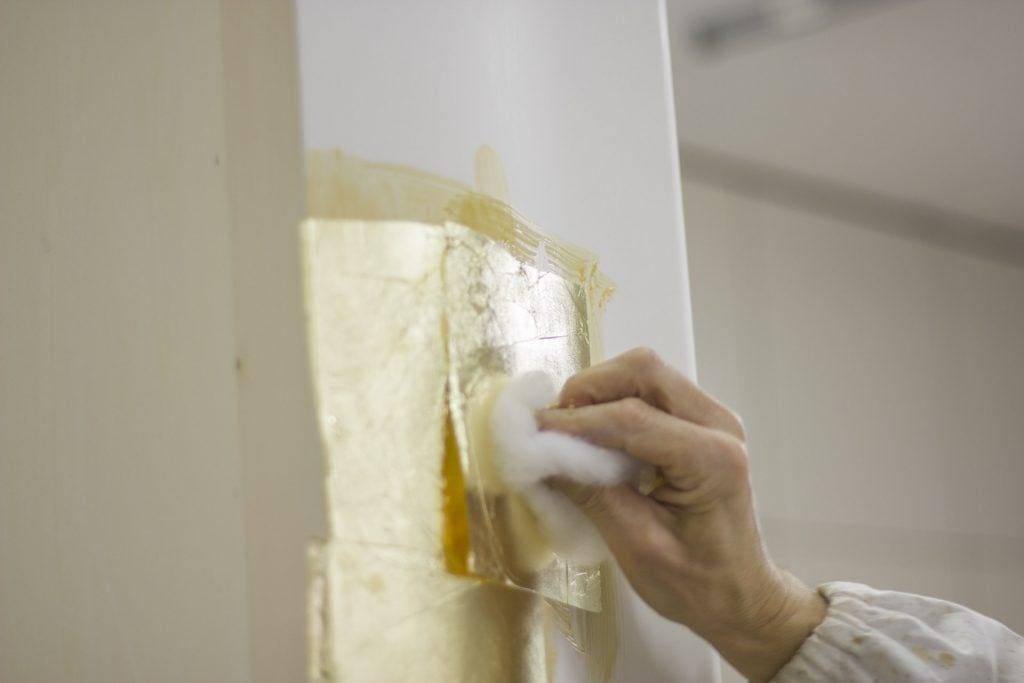
In order to cover the whole surface without leaving uncovered areas, several leaves can be overlapped. Use a cloth or cotton ball to make it stick perfectly. For application on non-flat surfaces it is advisable to dab with a flat bristle brush. Use the tip of the brush to push the leaf into the most difficult to reach areas, such as inlays or hidden sections.
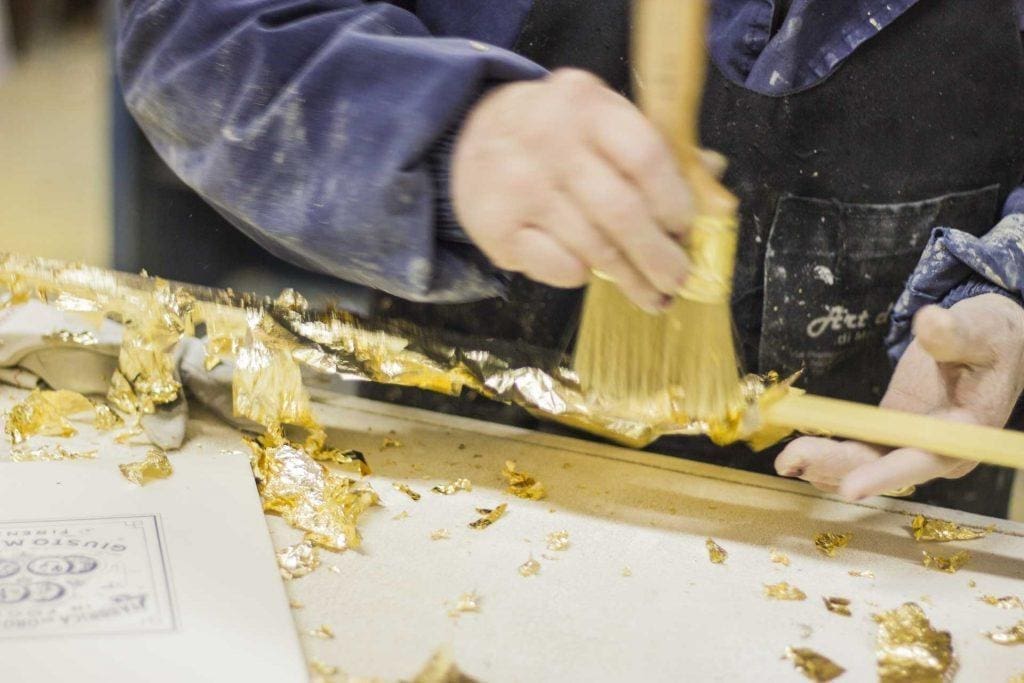
After application, brush off residues and overlapping leaf parts that are not in contact with the adhesive surface.
Protective coat
Tools:
• De-waxed shellac
• Acrylic or nitro varnish
• Soft bristle brush or paint gun
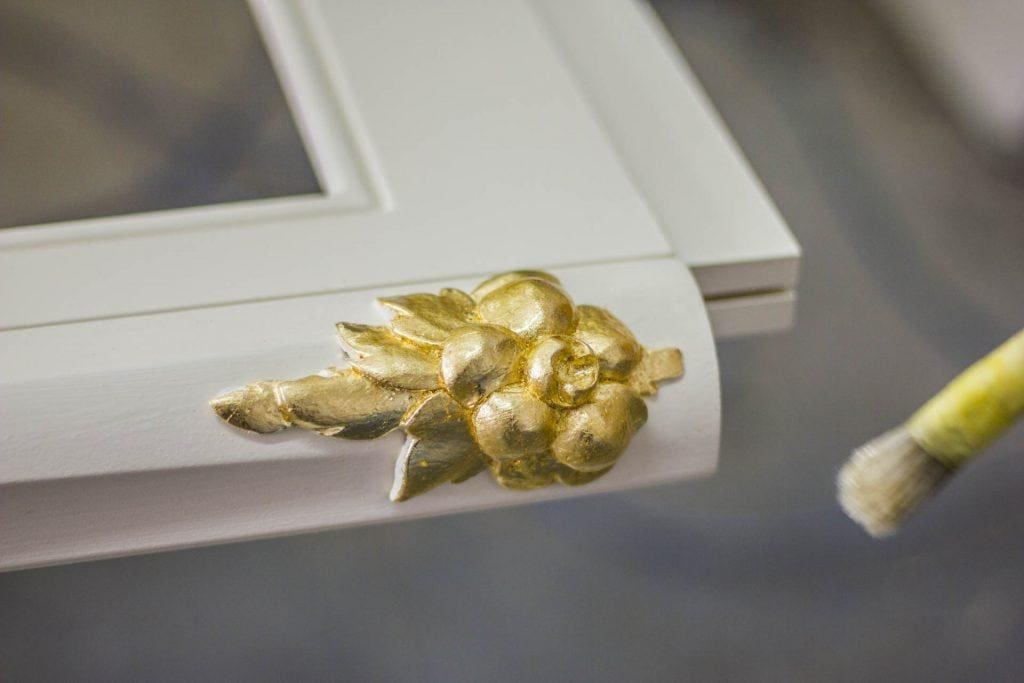
Once the application of the imitation leaf is complete, to avoid oxidation and to preserve the work from possible damage, we suggest applying a finishing varnish on the decorated surface.
Apply one or two coats of acrylic or nitro varnish with a brush or spray gun, depending on the size of the job and whether or not you have a paint gun.
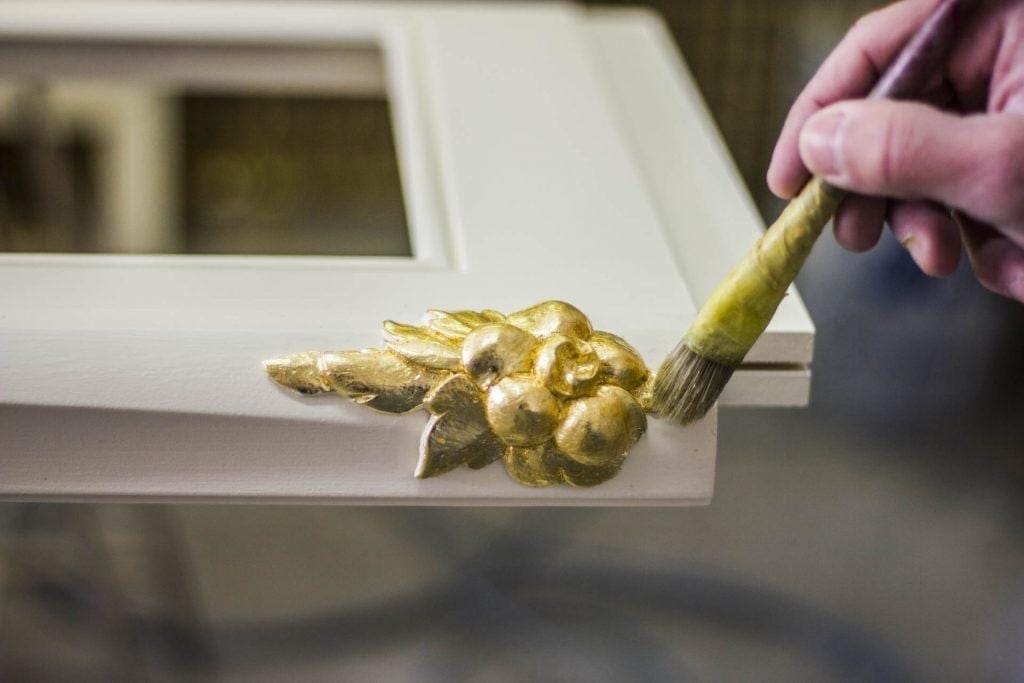
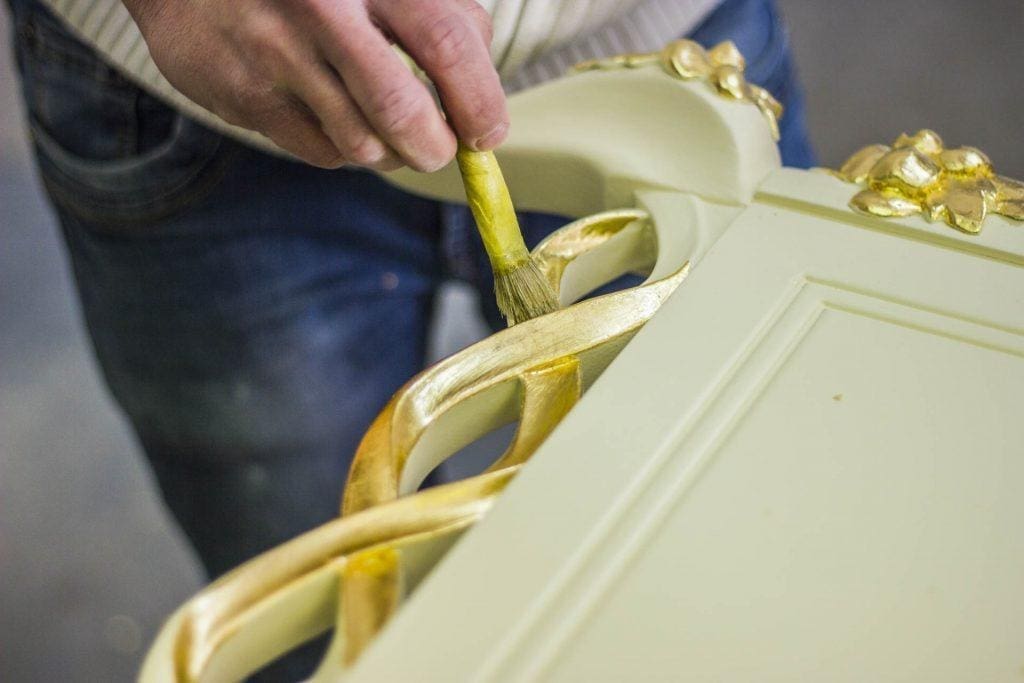
To lower the fly-aways on imitation gold and copper leaf, you can apply a coat of natural de-waxed shellac beforehand, using a flat brush with soft bristles. So as not to alter the colour of the aluminium leaf, you should preferably apply an extra-clear de-waxed shellac.
WATER GILDING WITH IMITATION GOLD LEAF
The water gilding technique is used for the application of imitation gold, aluminium or copper when you want to make a valuable piece but without using a precious metal leaf.
The main uses of imitation leaf applied with the water gilding technique are:
• Wooden frames
• Plaster frames
• Wooden furniture
• Icons
Preparation of the base material: chalking
Tools:
• Rabbit-skin glue, to be diluted in water
• Soft brush
• Bologna Gesso
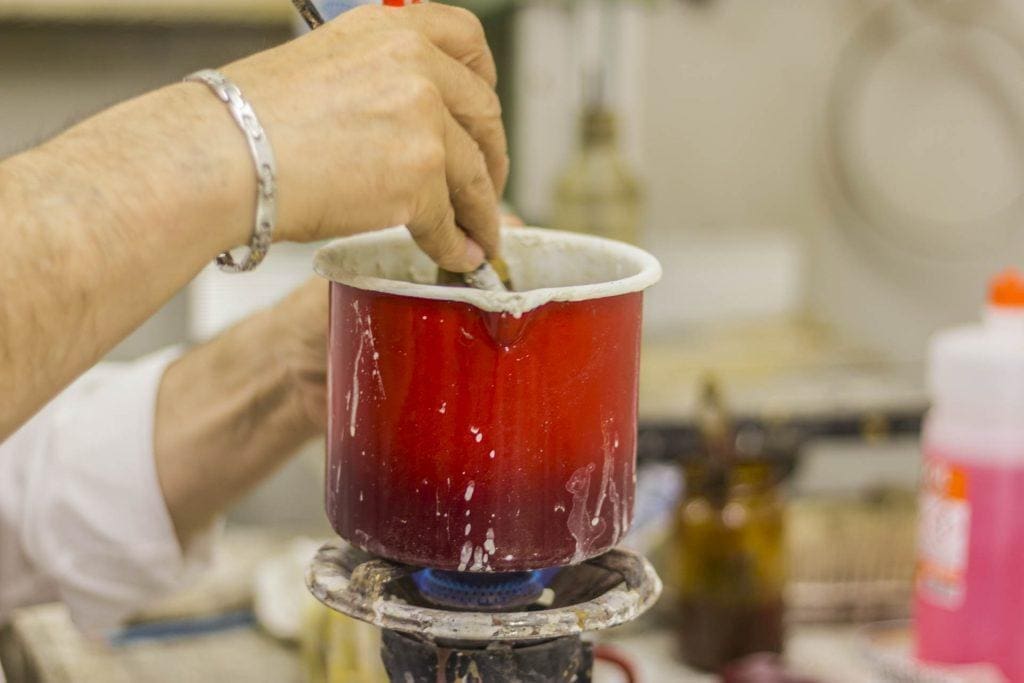
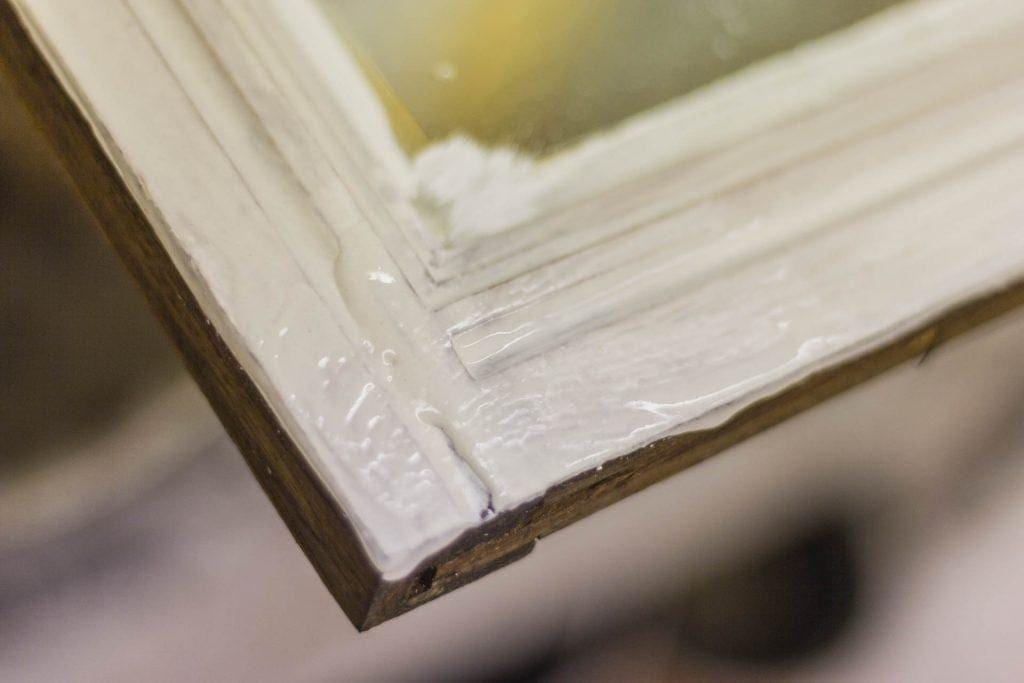
We must first prepare the base coat so that the surface you are gilding is as even and smooth as possible.
We begin by creating the so-called “colletta”, a mixture of rabbit-skin glue and water, which will then be used for the actual gesso stage. To prepare, mix the rabbit-skin glue with water (1 part glue and 8 parts water), and let the mixture rest for about 12 hours so that the glue softens. Then place it in a bain-marie (hot water bath) for about 8 hours until it is blended well. It is important to make sure that the mixture does not come to a boil.
After letting everything rest for 2 or 3 hours, add part of the colletta to the Bologna gesso, which you have previously sifted, with an approximate ratio of 1 part of gesso and 3 parts colletta. The gesso should be added gradually and without stirring to prevent bubbles from forming once it has been applied and dried.
The result is a dense, but semi-liquid compound that must be applied while still hot on the surface you are gilding.
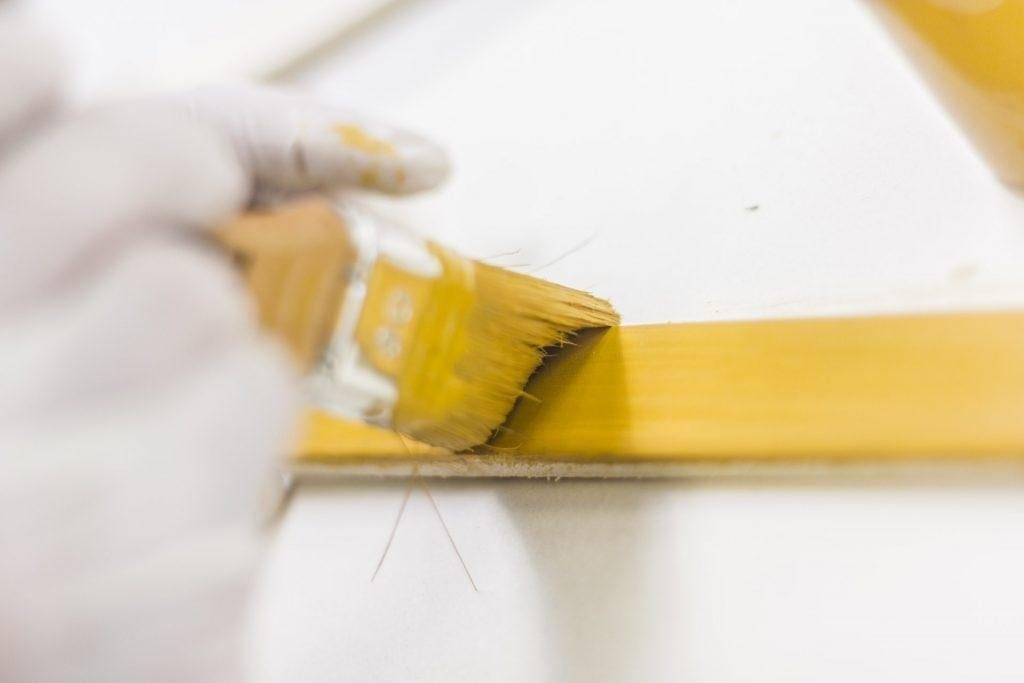
The gesso and colletta mixture must be applied by using a brush, with several coats on a surface that is clean, smooth and free of dust or particles. To lower the grain of the wood, we recommend applying a first coat of colletta that you’ve prepared separately. It should be very liquid and have a small amount of gesso.
Sanding and finishing
Tools:
• Coarse-grained sandpaper (120 – 180)
• Gilding scraper for roughing gesso
• Fine-grained sandpapers (280, 320, 400) for final sanding
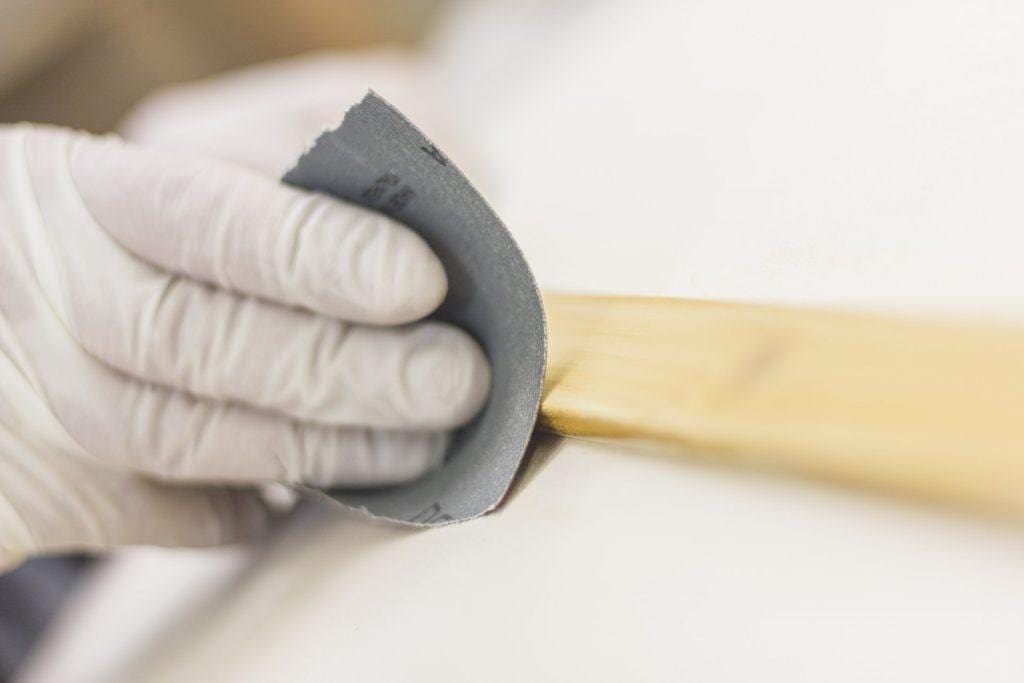
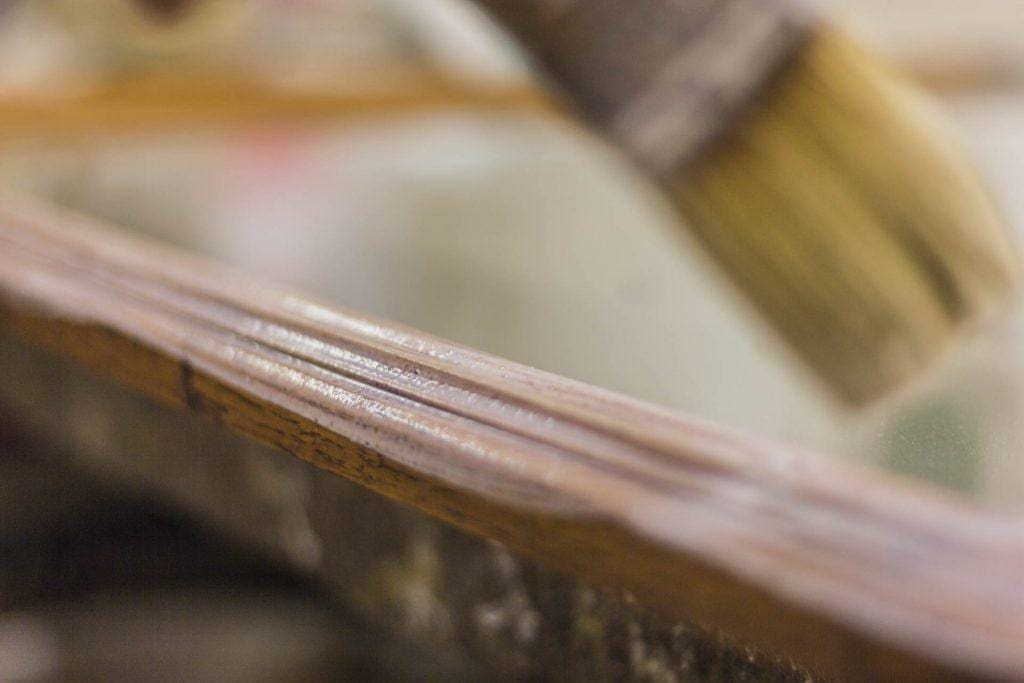
After the application of each coat let the gesso dry and sand the surface with coarse-grained sandpaper in order to eliminate imperfections. Proceed until the surface is homogeneous and well polished. Once the last coat is finished and has dried, use a scraper to recreate the sharp edges of the surface that you are gilding. For the final sanding, we suggest using progressively finer and finer sandpapers in order to obtain a perfectly smooth surface.
In order to seal it perfectly, it is particularly useful to spread on a last coat of compound obtained by mixing and heating fish glue (or rabbit-skin glue) with water, to which a bit of yellow bole must be added when the mixture is still hot. Let dry for 10/15 minutes.
Preparation and application of the colletta
Tools:
• Fish glue that is dissolved in water, to attach the leaf
• Bole paste (yellow, red or black)
• Brush with soft hair
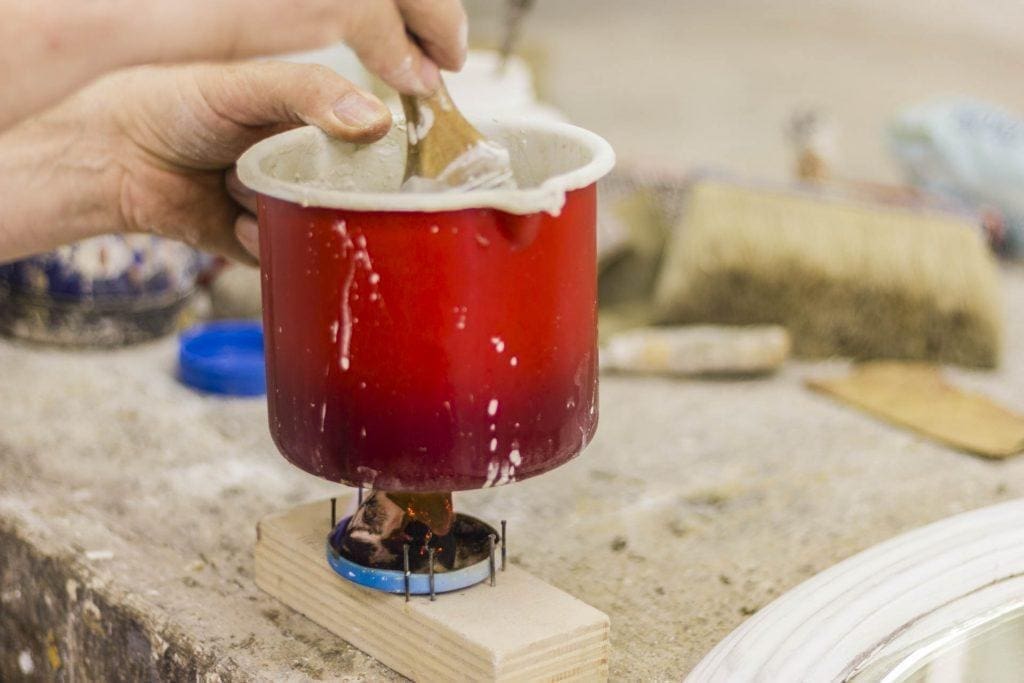
Before you apply the leaf, place a mixture of fish glue and water, in the approximate proportion of 1 part glue and 10 parts water, in a bain-marie (hot water bath), without reaching a boil. Add the bole paste (usually yellow for imitation gold and black for aluminium) in the quantity that is suitable to reach the desired shade and consistency.
With the help of a soft brush, wet the gesso so that it is ready to attach the leaf. It is also advisable to wet only part of the surface and apply the leaf immediately afterwards. Proceed in sections.
Applying imitation gold, aluminium and copper leaf
Tools:
• Imitation gold, aluminium or copper leaf
• Gilding cushion
• Gilding knife
• Cotton pad or cotton ball
• Squirrel hair bombasino (mop round brush)
The imitation gold leaf, aluminium and copper can be picked up directly with your hands and applied to the item you are decorating, taking care not to damage it. To apply the leaf perfectly, you can use a slightly dampened cotton ball or a gilding knife.
In order be sure you will have a uniform surface coverage, without leaving uncovered areas, it is possible to overlap several leaves. Use a cloth or cotton ball to make it adhere well.
For application on non-flat surfaces we recommend the use of a squirrel hair bombasino (mop round brush), whose tip will push the leaf into the most difficult to reach sections, such as inlays. After application, brush off residues and overlapping leaf parts that are not in contact with the adhesive surface. It is essential not to touch the gilded surface with your fingers until it is completely dry.
If you need to retouch or add to missing parts, we suggest wetting the base, taking care not to touch the already gilded surface, in order to avoid the formation of halos after everything is completely dry.
Protective coat
Tools:
• De-waxed shellac
• Acrylic or nitro varnish
• Soft bristle brush or paint gun
Once the application of the imitation leaf is complete, apply one or two coats of acrylic or nitro paint on the decorated surface which will protect it from oxidation and avoid the risk of damage. This can be done either by brush or spray gun, depending on the size of the job and whether a spray gun is available or not.
To lower the fly-aways on the imitation gold and copper leaf, you can apply a coat of natural de-waxed shellac beforehand, using a brush with soft bristles. So as not to alter the colour of the aluminium leaf, you should preferably apply an extra-clear de-waxed shellac.
Discover the other techniques