
Depending on the shape and size of the item, it may be necessary to cut the gold or silver leaf into smaller pieces to help with grip, and to make it easier to work on the sections that need to be gilded or retouched.
Gilding small surfaces
Gilding small surfaces and retouching with gold leaf The art of retouching and gilding, in detail
Gilding small surfaces
Tools:
• Loose leaf
• Gilding knife
• Gilding cushion
• Squirrel hair gilder’s tip
• Agate burnisher
For the gilding of small surfaces always use the loose leaf, and cut the leaf by using a gilding knife and gilding cushion. Rest the knife where you’d like to cut the leaf and, with small a back and forth movement, start cutting by pressing lightly on the leaf. Special care should be taken not to exert too much pressure so as not to cut and damage the cushion.
After the chosen glue (bole or size) has reached perfect adhesion, proceed with gilding by taking a piece of leaf, which has been previously cut, with a squirrel hair gilder’s tip and move it towards the item you are working on. The leaf will attach quickly to the surface. Proceed until the base is completely covered.
To attain a perfectly shiny appearance we recommend applying the leaf with the water gilding technique and then burnishing it. For inlays and small surfaces you should utilise agate burnishers with small and specially shaped tips. The burnishing phase can only be commenced after the leaf and the bole underneath have dried.
Touch-ups with gold leaf in the gilding
Tools:
• Loose leaf
• Gilding knife
• Gilding cushion
• Brush with soft hair
• Squirrel hair gilder’s tip
• Marten hair brush or cotton ball
• Brush or dusting cloth
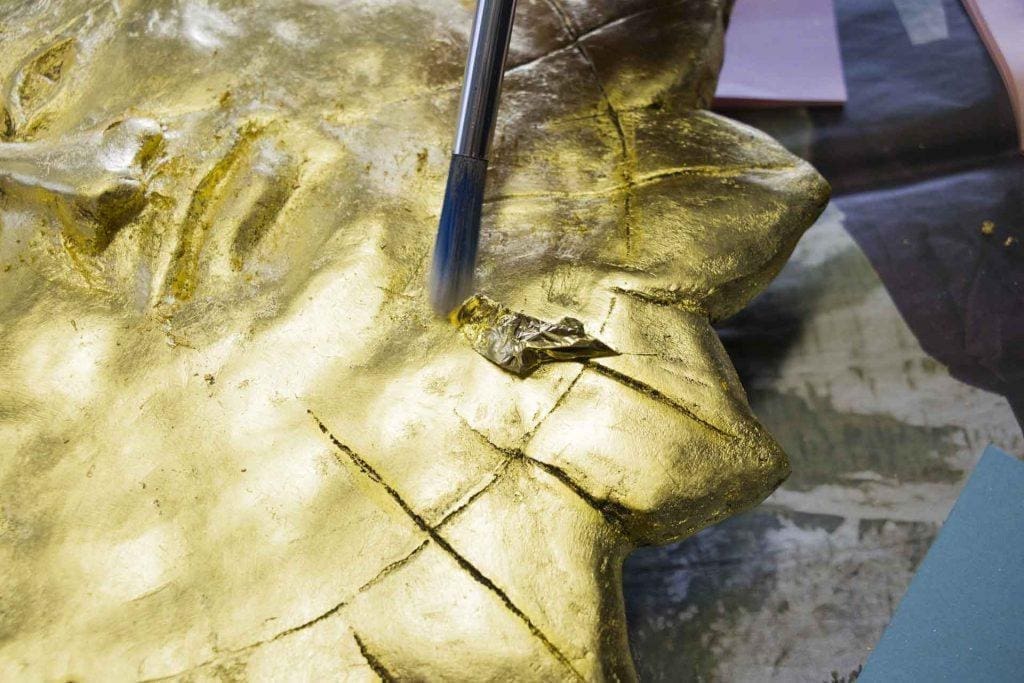
During the gilding process some areas might be unintentionally damaged or remain uncovered. Therefore you may need to touch up with small leaf pieces. This process is also called “gilding repair”.
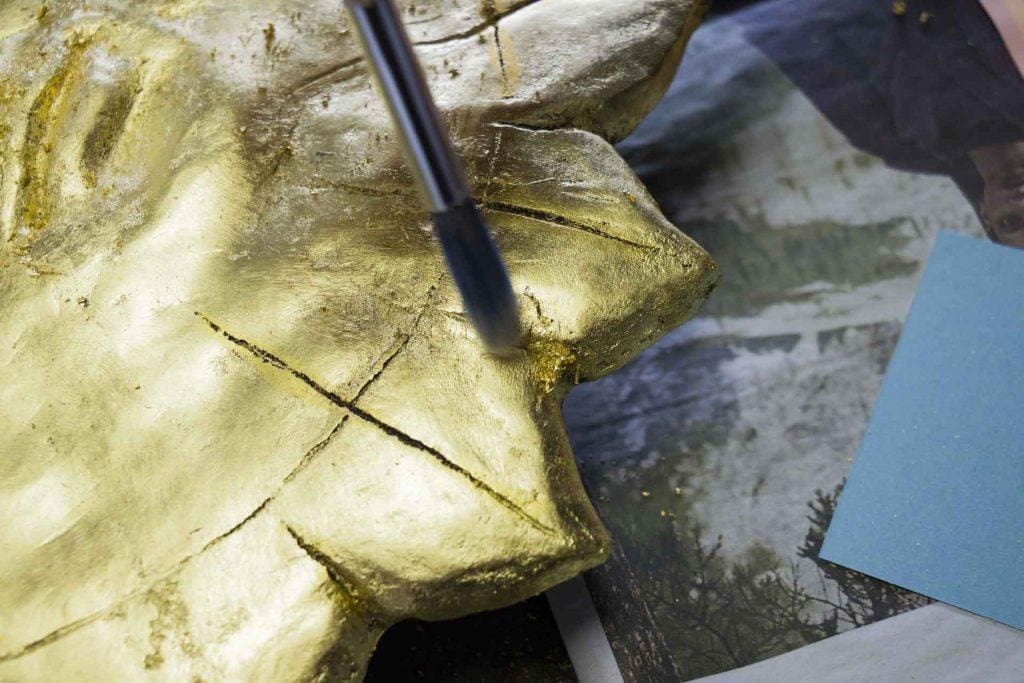
Use a soft brush to moisten the uncovered section, and make sure you do not leave any moisture on the surrounding sections because water residues could form halos on the leaf once the gilding process is complete.
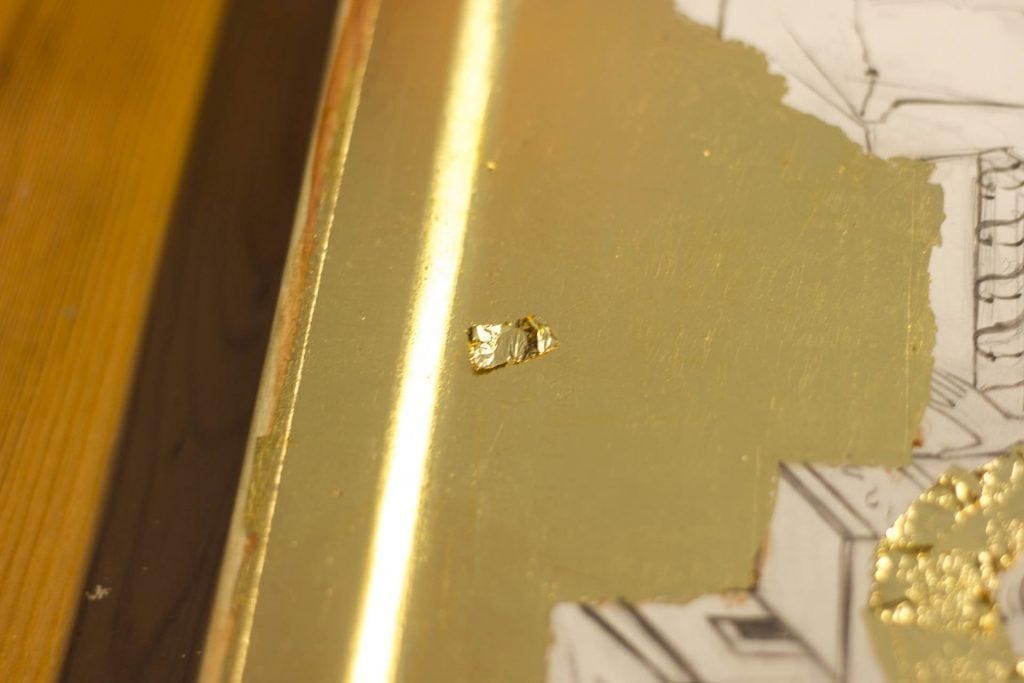
After cutting the leaf to the right size, lay it with the brush directly on the wet area, dabbing with a marten brush or cotton. You should always use a piece of leaf that is slightly larger than the uncovered surface so as not to run the risk of not covering the entire area.
After allowing the repaired section to properly dry, remove any excess leaf with a brush.
Discover the other techniques

 Subscribe to our newsletter and get an instant discount on your first purchase in our online shop!