
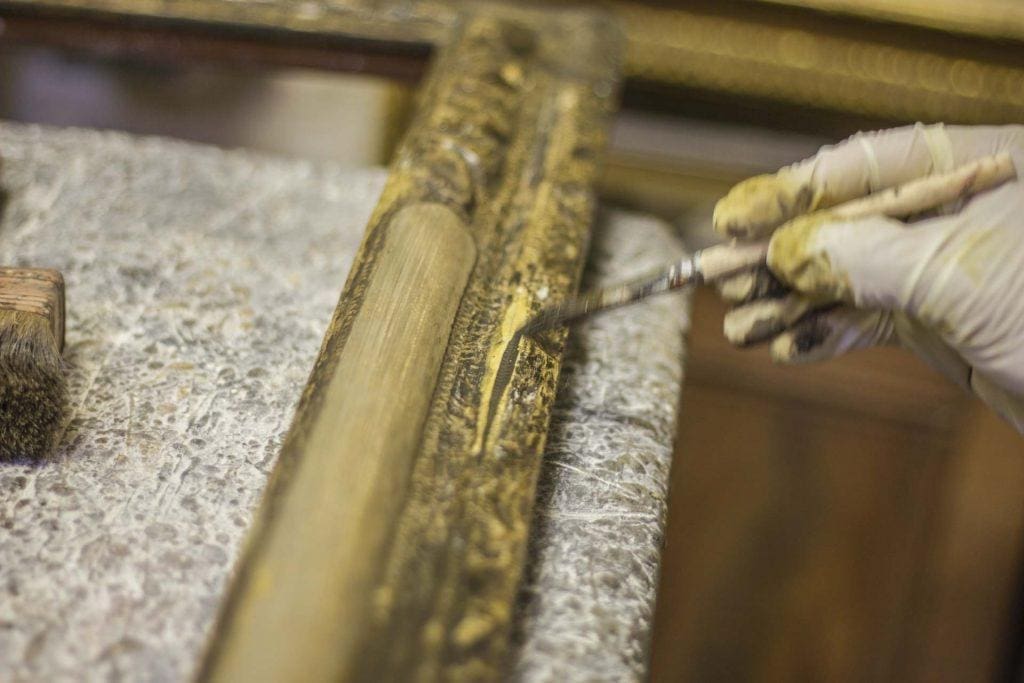
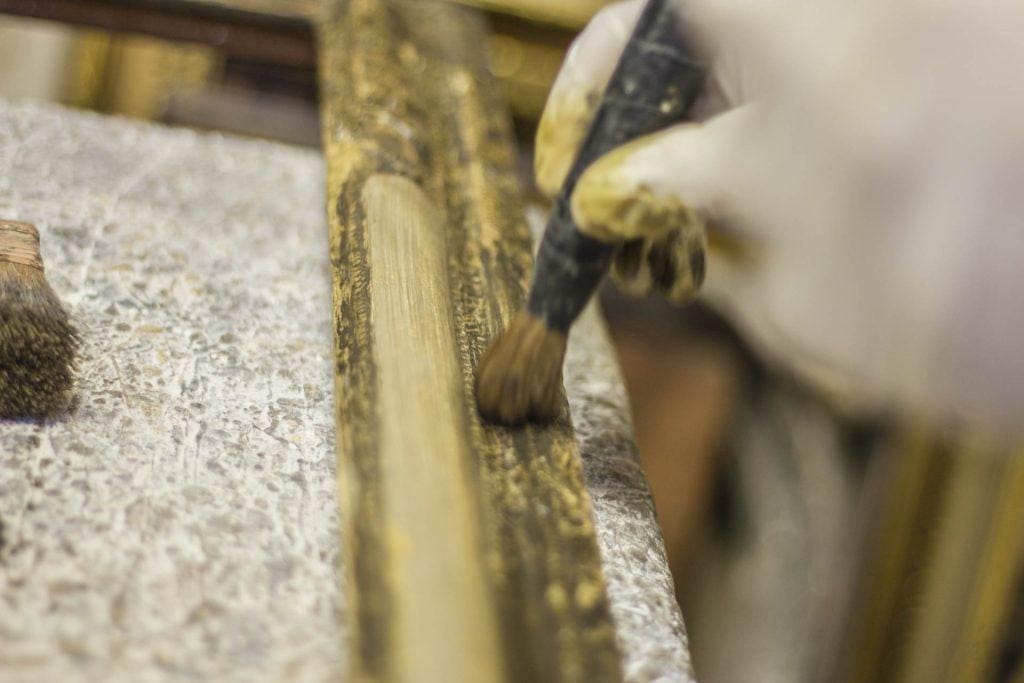
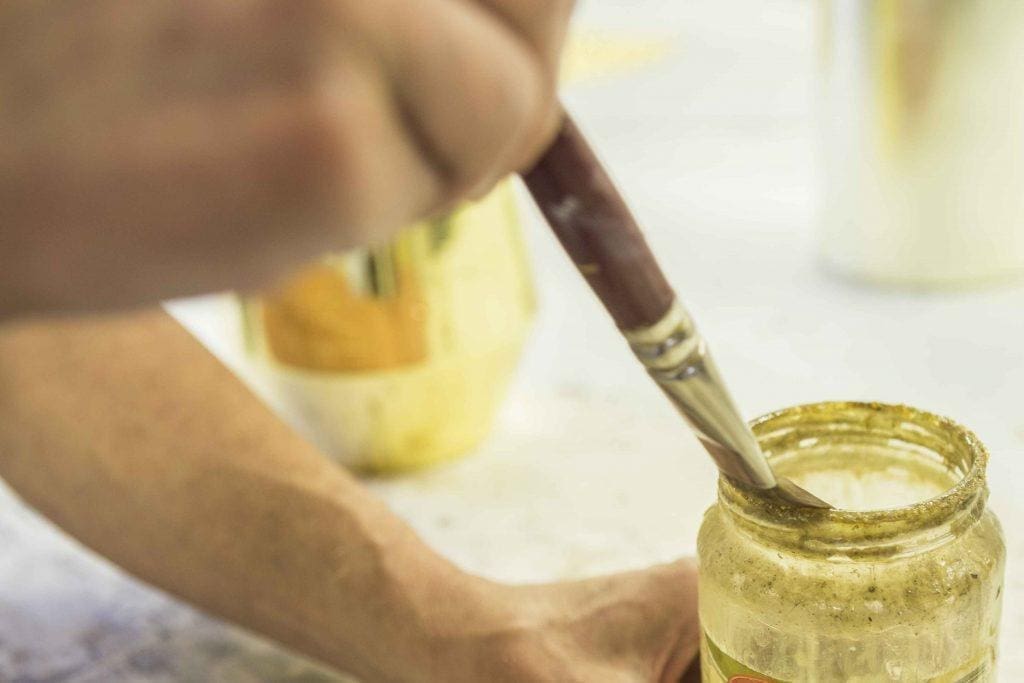
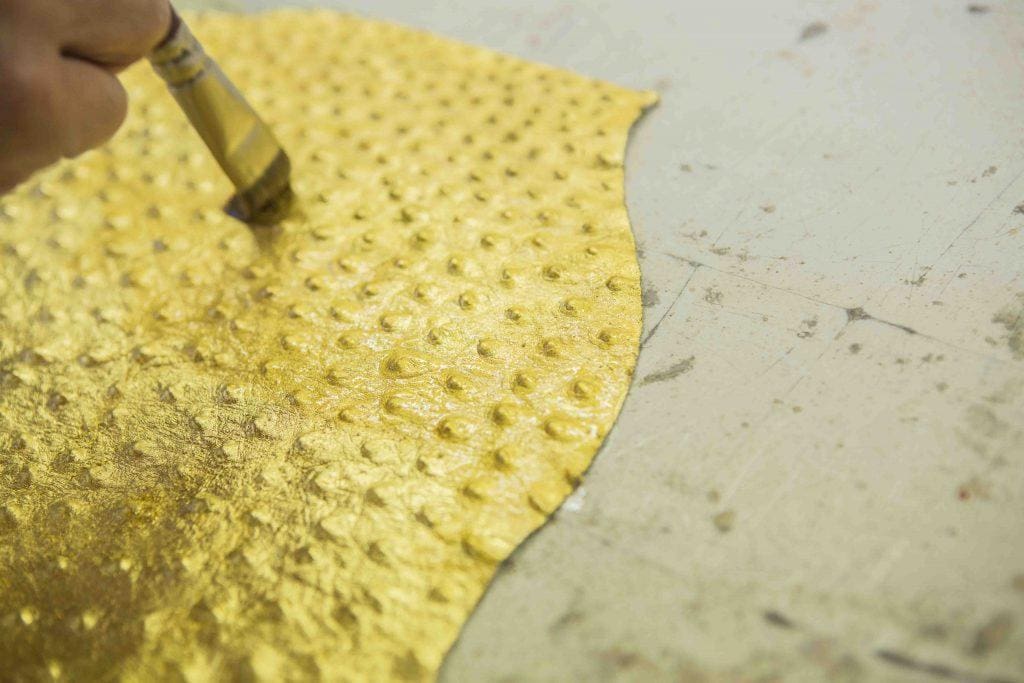
Once gilding with precious metals or imitation metals is complete, you can create special colour effects on it, you can age the decorated surface with ageing techniques or you can create three-dimensional effects using gilding finishing techniques.
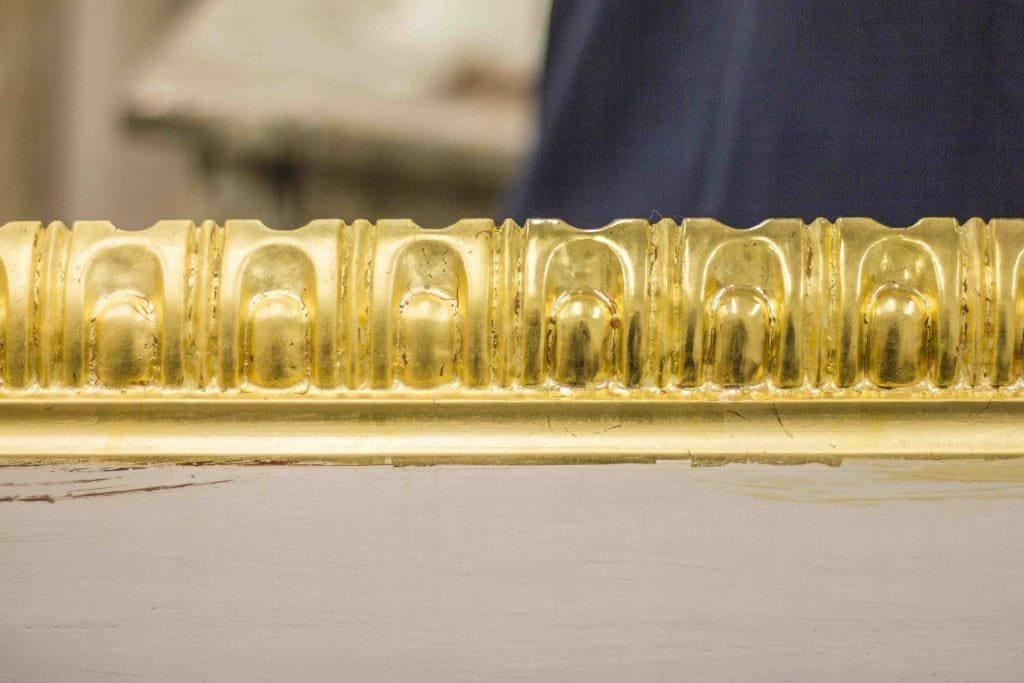
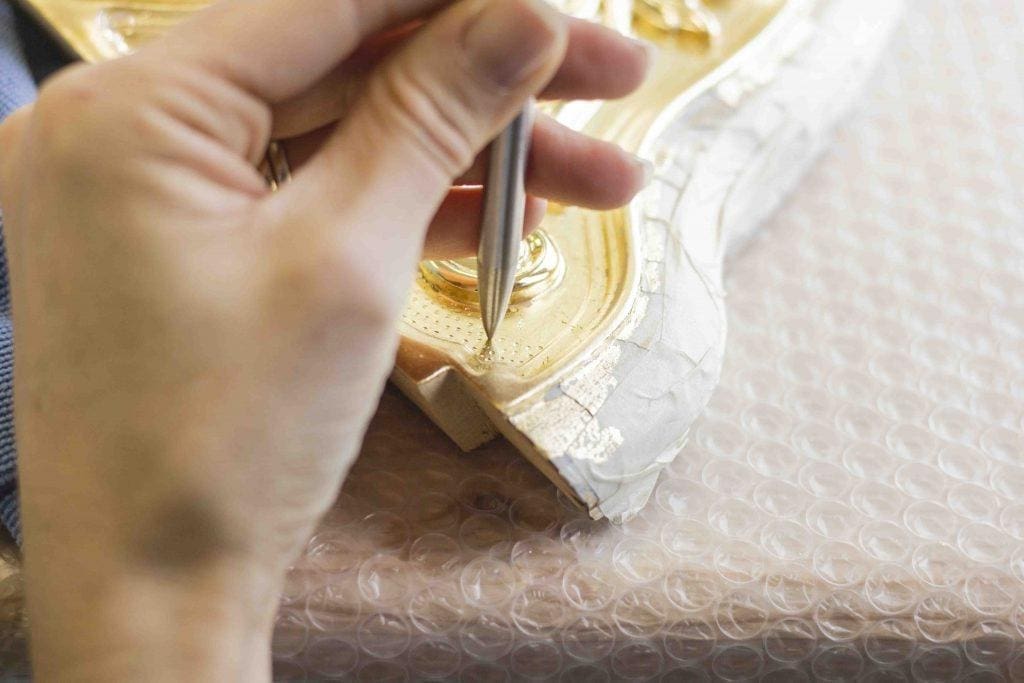
BURNISHING OR POLISHING THE GILDING

 Subscribe to our newsletter and get an instant discount on your first purchase in our online shop!
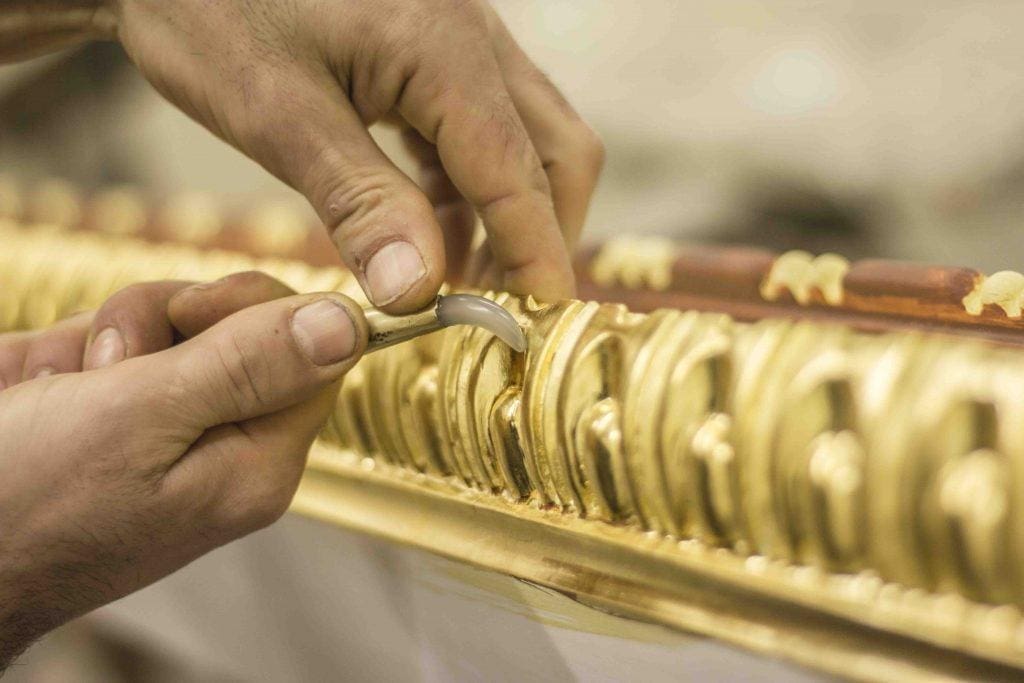