
The first starter kit for gilding a frame with genuine 24kt gold leaf is designed for those who want to easily learn this fascinating and age-old decorative art. The kit includes everything you need to start with the oil gilding technique, making the learning process simple and rewarding:
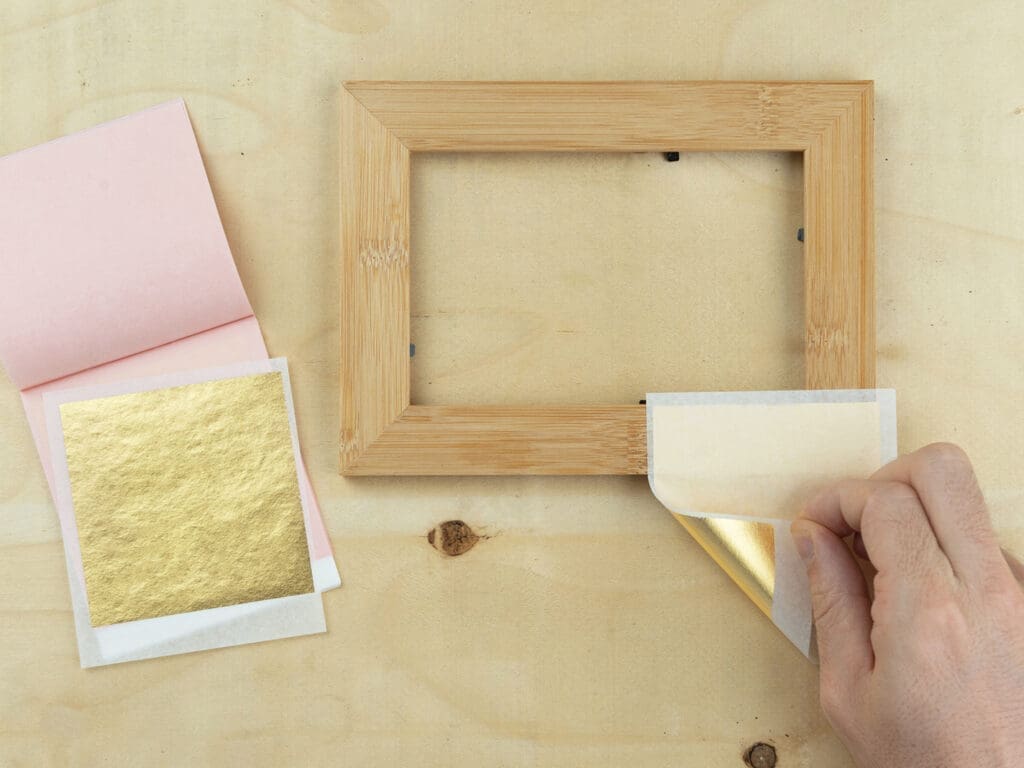
- 1 Booklet of 24 kt genuine gold leaf (10 transfer leaves 8×8 cm)
- 1 Water-based size 50 ml
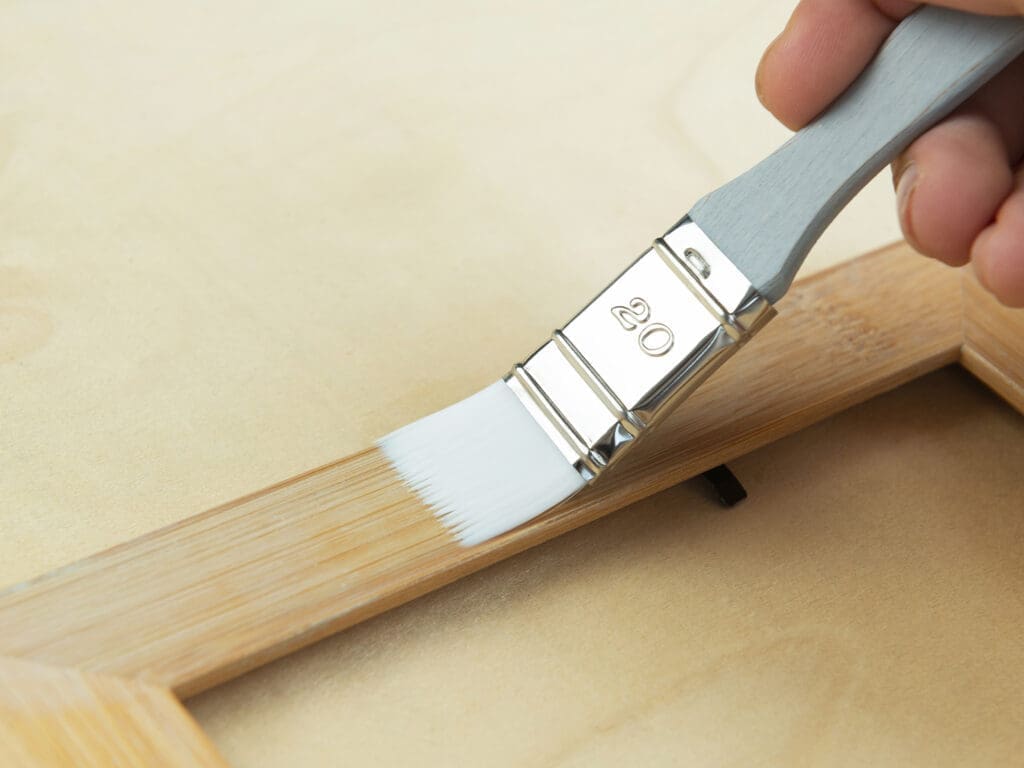
- 1 Brush in “Perla” synthetic bristle No. 20
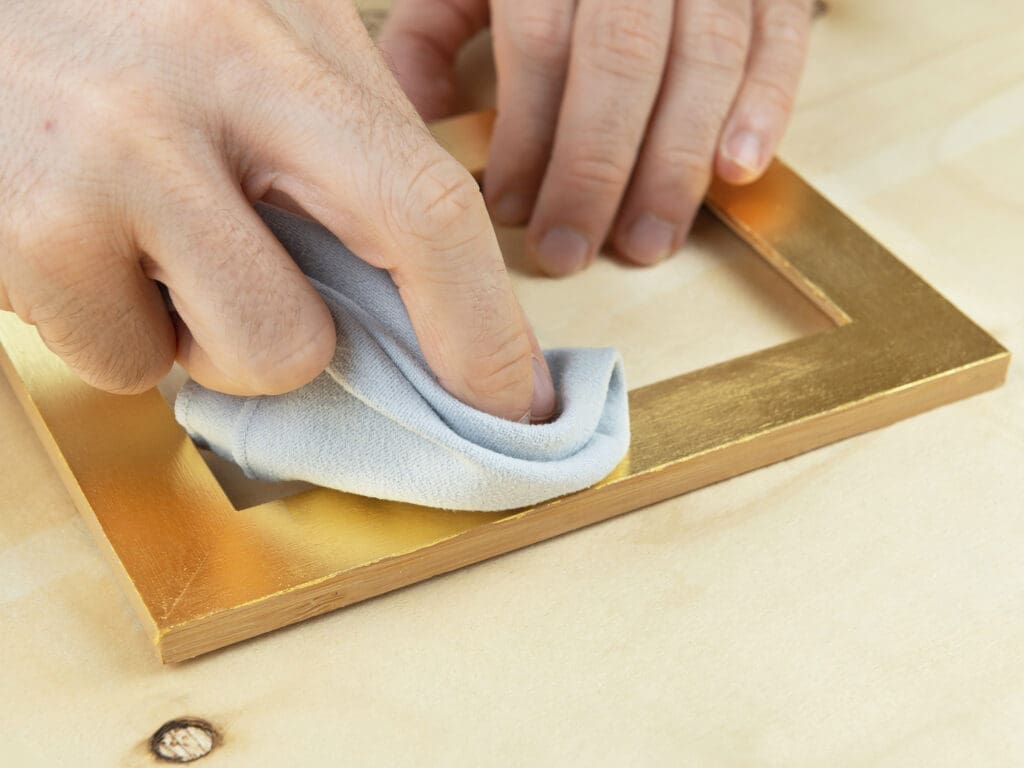
- 1 Gilding cloth
- 1 Transparent varnish 50 ml
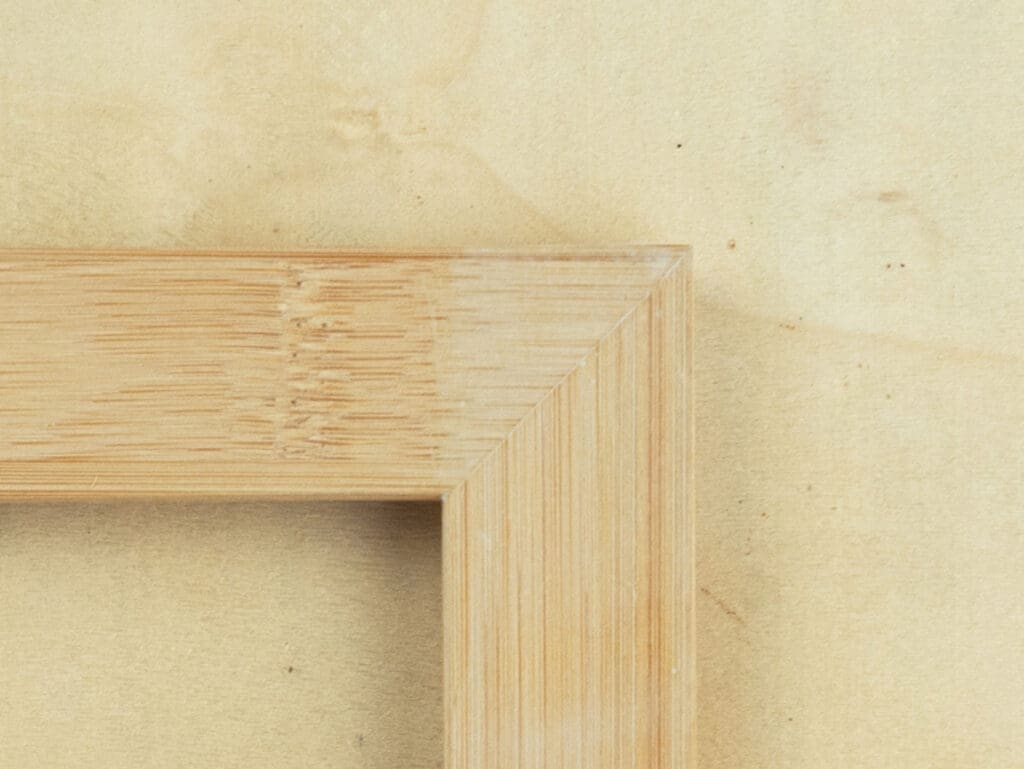
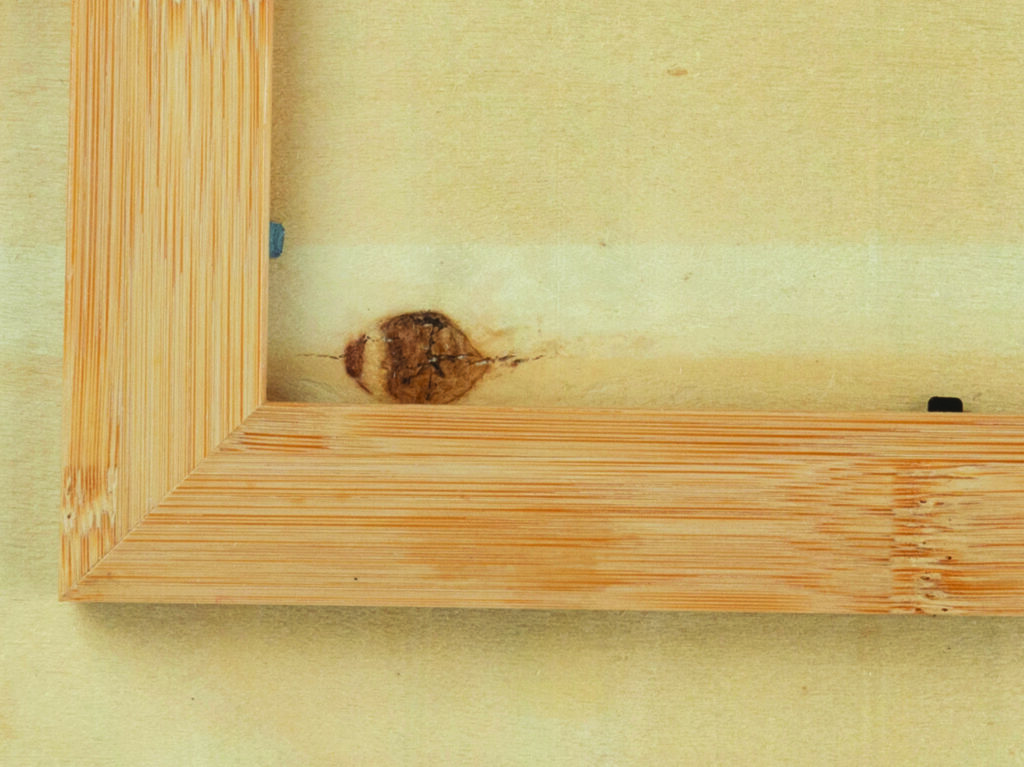
- 1 Wood frame to be gilded 14x19x0,9 cm
- 1 Gilding quide for beginners
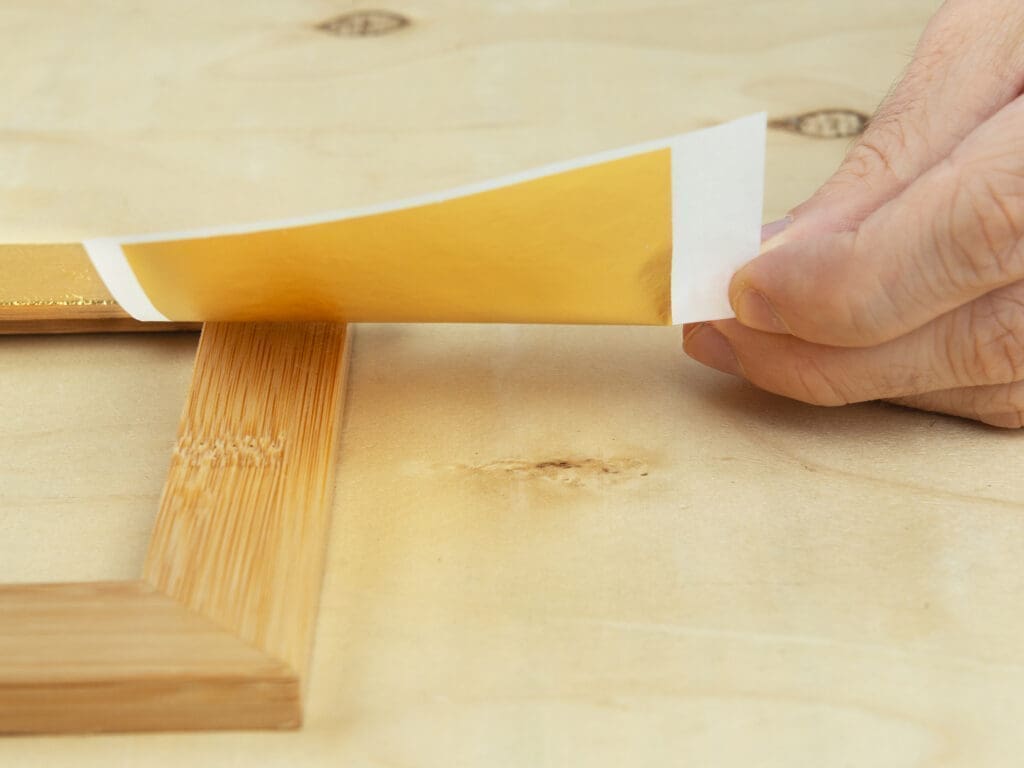
The water based size is used for gilding indoor medium porosity surfaces (such as wood, plaster, stucco, paper and cardboard). Before starting the gilding process it is very important to remember a few rules.
WHAT NOT TO DO
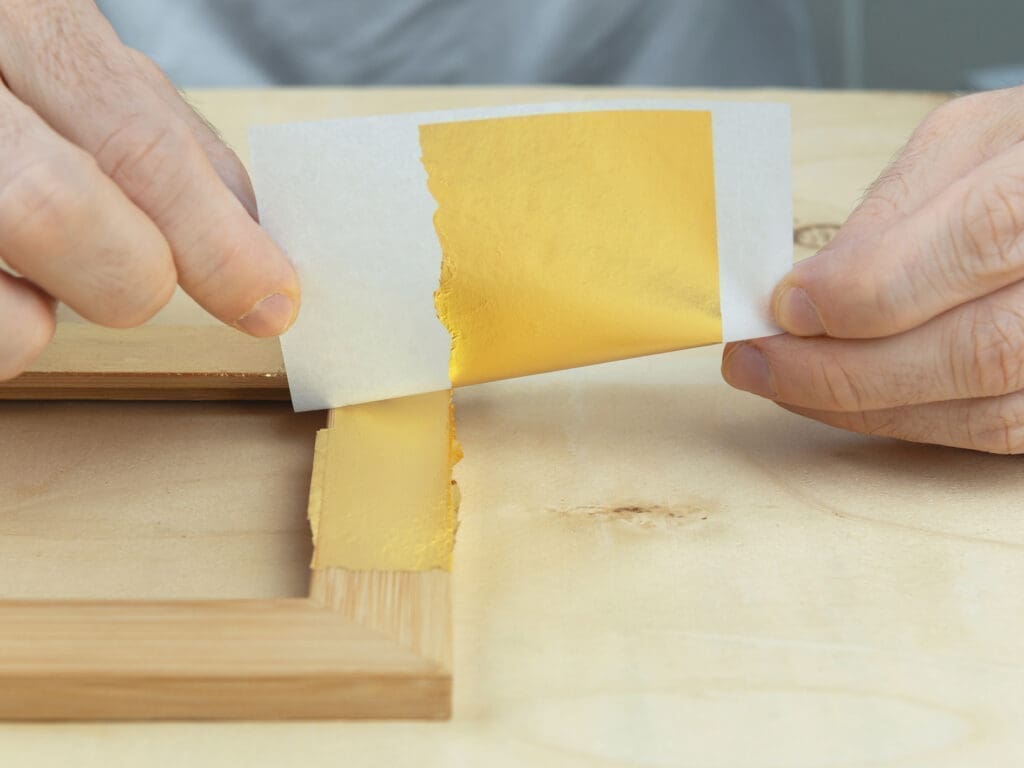
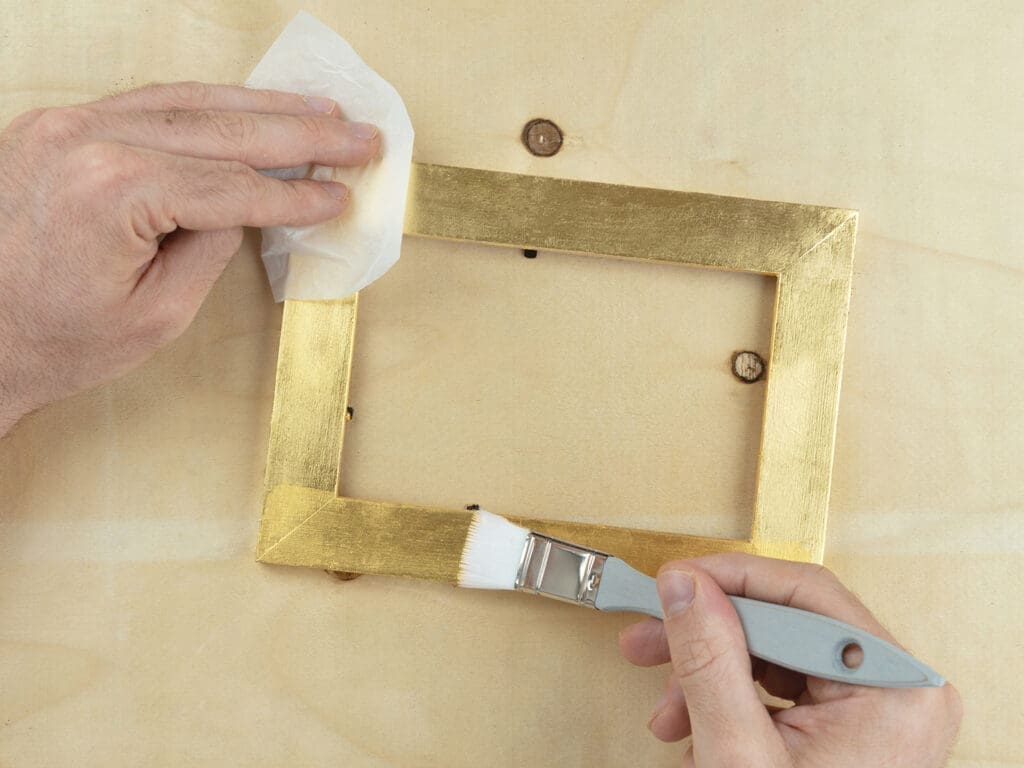
- Do not touch the gold with your hands, neither before, during, or after application, but only with the tissue paper;
- Do not gild in dusty environments as the dust could remain attached to the frame.

 Subscribe to our newsletter and get an instant discount on your first purchase in our online shop!
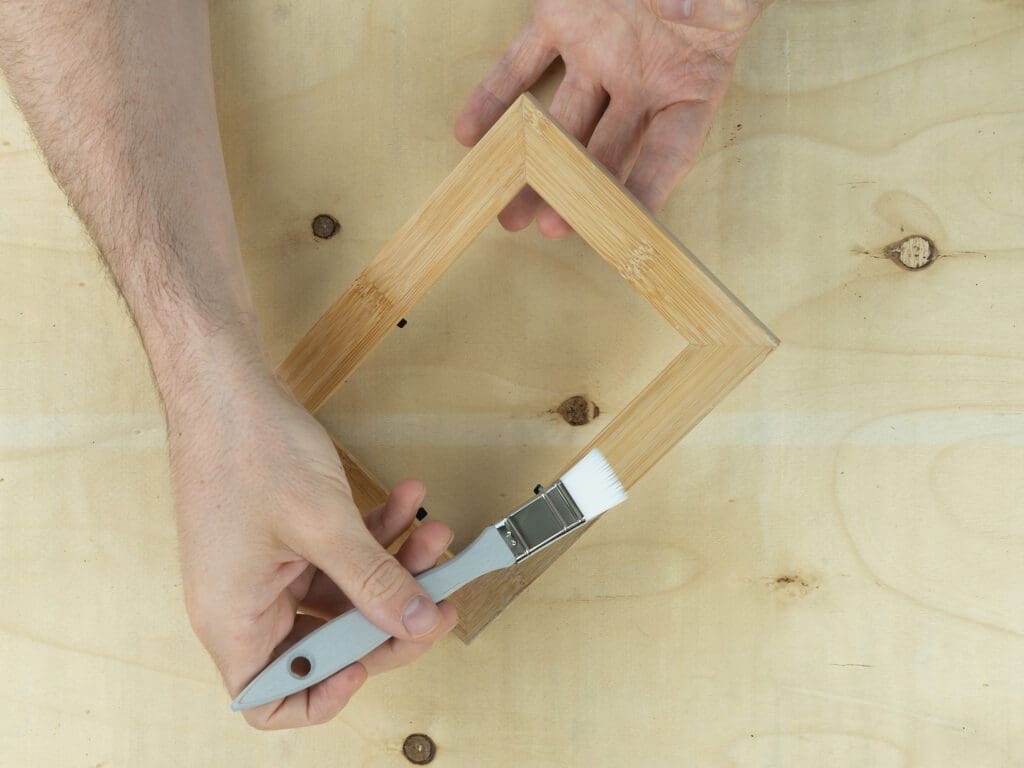