Alcohol-based size gilding with pure gold or silver leaf
Techniques and tools for the application of the alcohol-based size

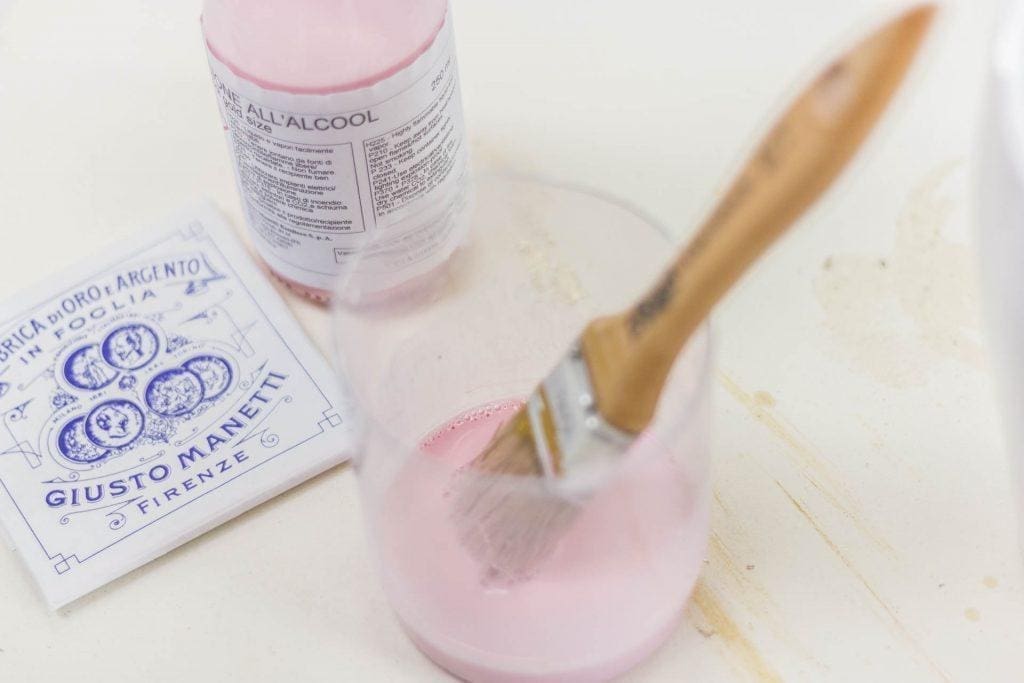
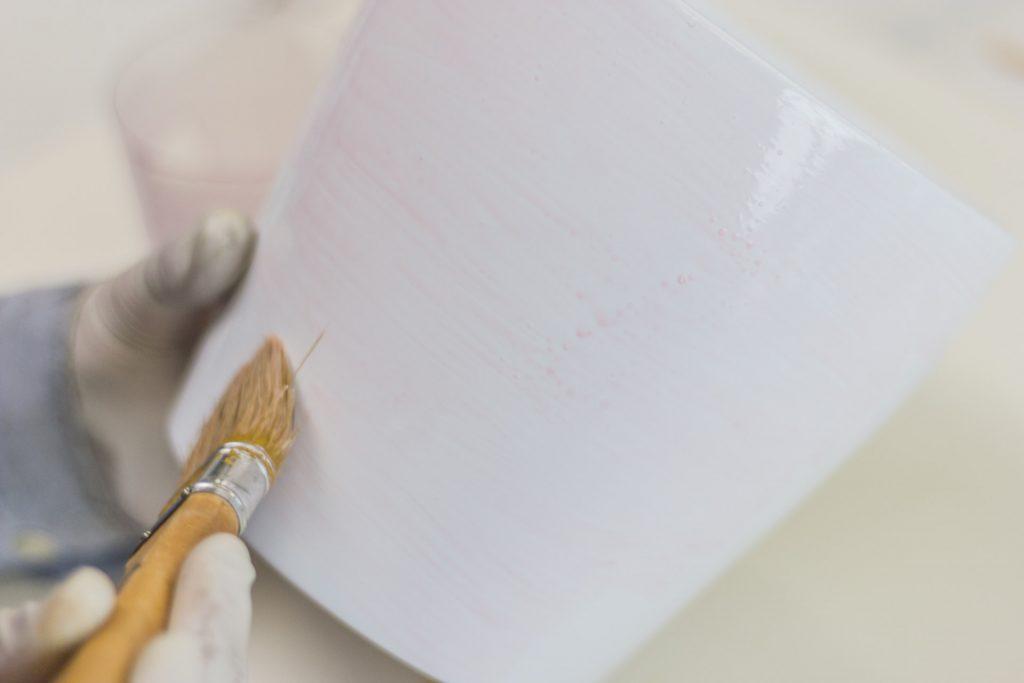
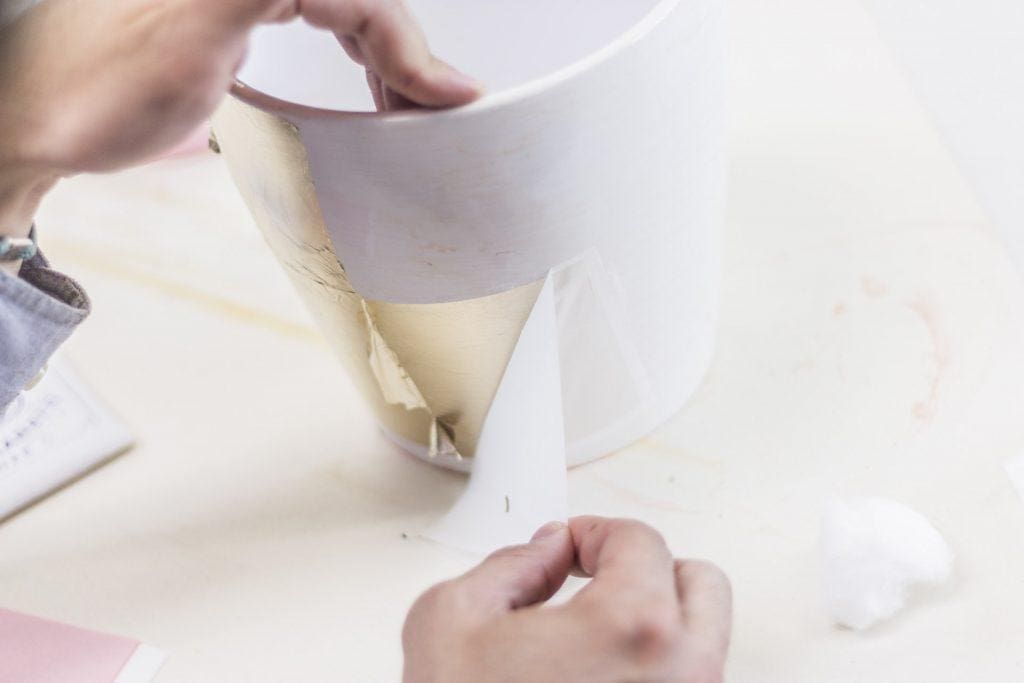
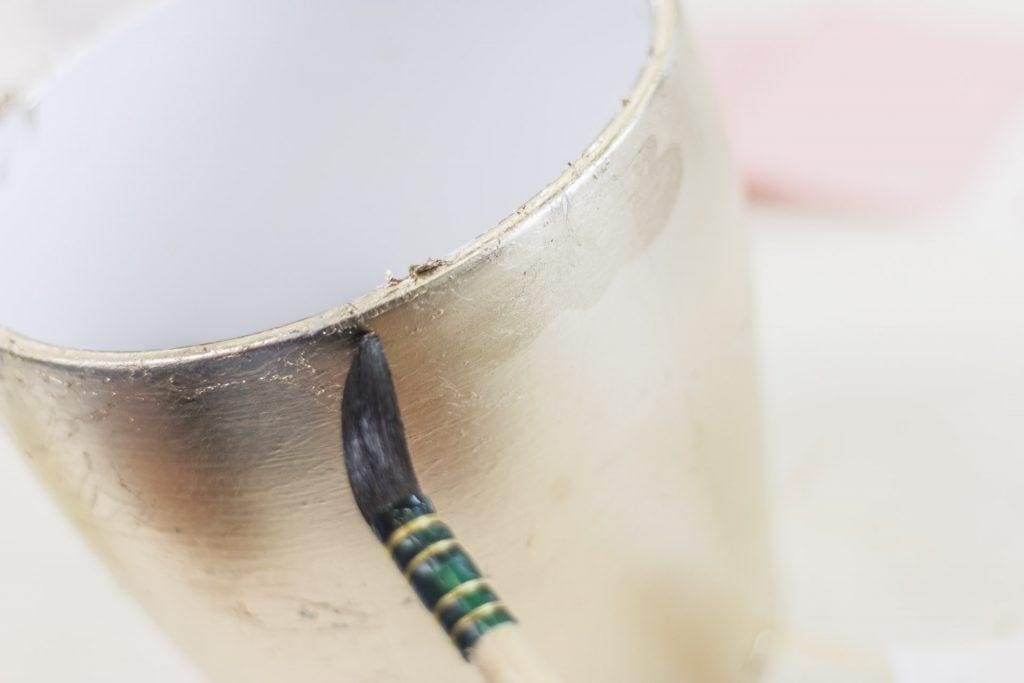
Alcohol-based size is used to gild the surfaces of items with no porosity (such as glass, plastic and metal), and which will go indoors. It is particularly suitable for:

• Glass items
• Plastic items
• Wrought iron bed frames and metal items
• Furniture accessories

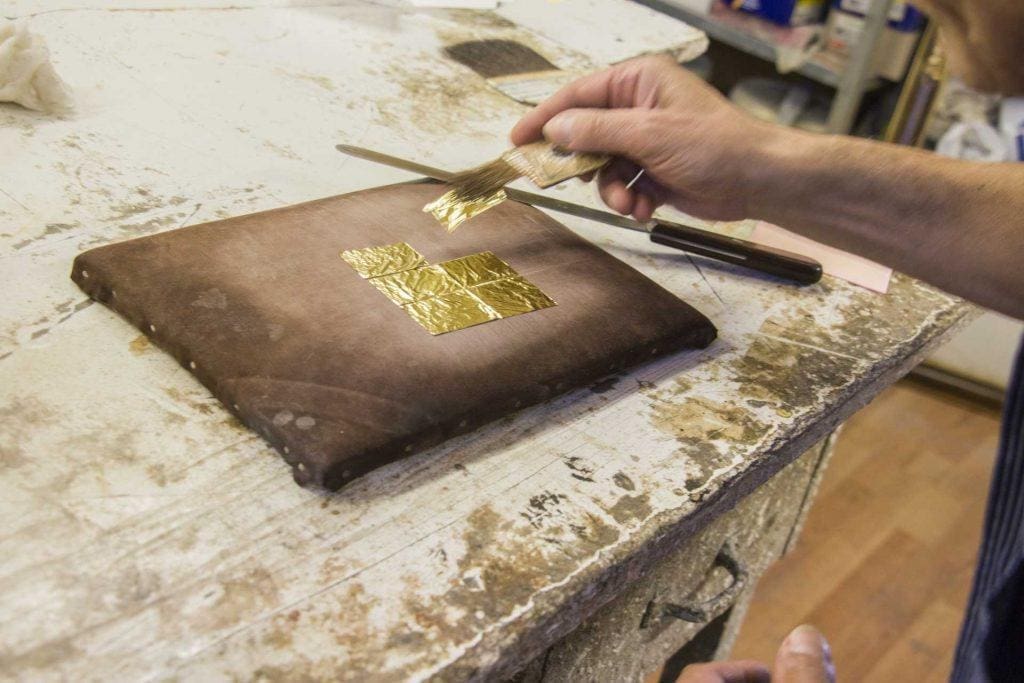
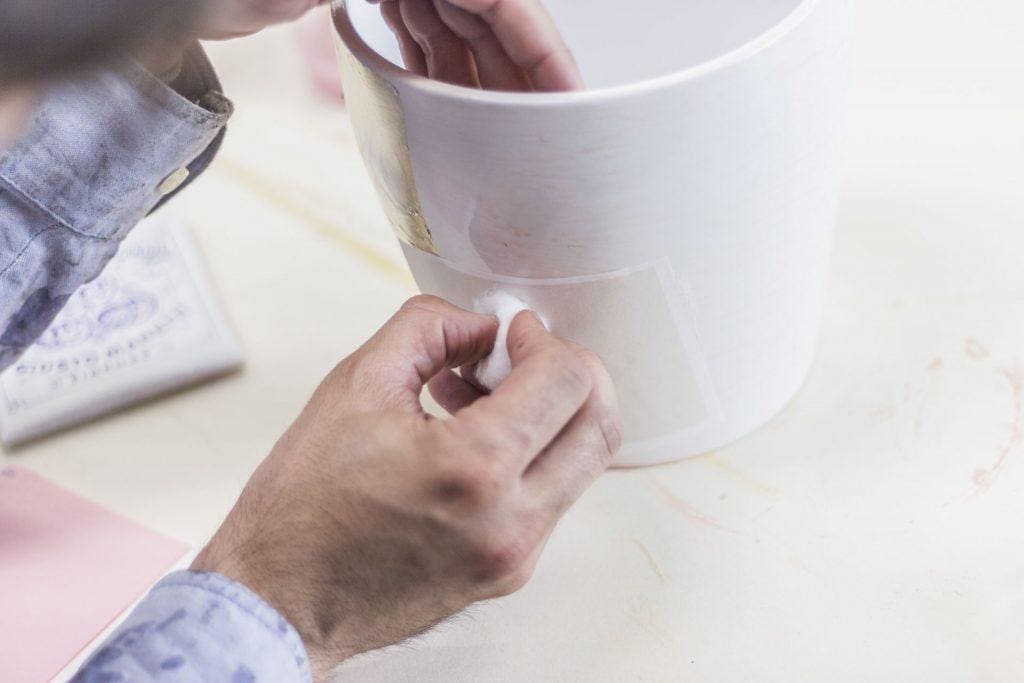
Use alcohol-based size to apply both pure gold and silver, loose or transfer leaf. In the latter case, using a sheet of tissue paper will facilitate grip and application, speeding up and simplifying the gilding process.

For imitation leaf gilding you will find more information here.

Base material preparation

Tools:

• Primer to make the base homogeneous
• Acrylic colour (optional) to add colour to the background

To make the base perfectly homogeneous before gilding, it is advisable to apply a base coat (called a primer) that is suitable for the base material.

When you are gilding metal items it is a good idea to clean the surface well and then apply a protective coat before applying the paint and subsequently applying the size. This step serves to remove traces of oxidation/corrosion of the surface and to prevent their reappearance in the future.

If you would like the gilding to have a warmer and more even colour, you can also apply an acrylic colour to the base (usually yellow or red for gold, and black or grey for silver).

Application of the alcohol-based size

Tools:

• Alcohol-based size
• Brush with soft hair

Spread the size using a soft brush or a pad. This step can also be done with a spray gun.

It is very important to make sure that you spread it as thinly as possible. If the layer is too think it could lead to imperfect drying and would make the base unstable when you are applying the leaf. You would therefore risk compromising the final result with wrinkles, bubbles or cracks.

Drying the alcohol-based size

Alcohol-based size has different drying times depending on the type. Once dry you can proceed with the leaf application.
To assess if it is time, we recommend touching the area with the back of your hand. It must be slightly sticky but without leaving a damp residue on your skin and without detaching from the piece you are working on. We do not recommend touching the surface with your fingers in order to avoid leaving prints on the size, which would remain visible even after you’ve gilded the surface.

It is important that you be very careful when evaluating the right waiting time before applying the leaf. It normally takes 30 to 60 minutes, depending on the material you are working on and the type of water-based size. If you wait too long there is a risk of it drying completely, which would not allow the leaf to adhere. Then again if you do not wait long enough, applying the leaf will stop the drying process of the size, resulting in unstable gilding. The amount of humidity and the temperature of the room have a significant influence on the drying time.

Leaf application

Tools:

• Loose or transfer gold or silver leaf
• Gilding cushion
• Gilding knife
• Squirrel hair gilder’s tip
• Cotton pad or Kolner cloth

To apply the gold or silver loose leaf, gently open the booklet and place it onto the gilding cushion. With the help of a gilding knife, slide the leaf onto the cushion and apply it by lightly blowing on it. It is essential that the leaf never comes into contact with your fingers to avoid damaging it and making it unusable.
With the gilding knife you can also cut the leaf into smaller parts.
To apply the leaf to the surface you are gilding, we recommend using a squirrel hair gilder’s tip. The size of the gilder’s tip depends on the size of the leaf.

When gilding flat surfaces and you do not need to cut the leaf, we recommend using transfer leaf. Simply remove the leaf from the booklet, lay it on the surface, and use a pad (like a cotton ball) to apply light pressure on the entire surface of the tissue backing paper to transfer the leaf. The tissue can then be removed easily and without holding onto any metal parts.

Protective coat

Tools:

• Brush with soft hair
• De-waxed shellac or synthetic protection

Once the leaf has been applied, a finishing varnish can be added to the decorated surface which will help to preserve it from damage. The protective coat is optional when working with high purity gold leaf. We always recommend it, however, when gilding with silver leaf or with gold leaf that has a high quantity of silver in the alloy because there is a risk of oxidation.

Apply one or two coats of de-waxed shellac natural varnish, using a soft brush, and wait for the first coat to dry completely before proceeding with the second.

So as not to alter the colour of the silver leaf, you should preferably apply an extra-clear de-waxed shellac or another transparent protective varnish. For greater protection you can apply a clear acrylic varnish, with a glossy, matte or satin finish.

Before proceeding with a protective coat, it is important to know that it will in any case change the appearance of the leaf in terms of colour tone and glossiness.